PREMIUM ANTIMICROBIAL INTERIOR AND EXTERIOR MINERAL COATING SYSTEM

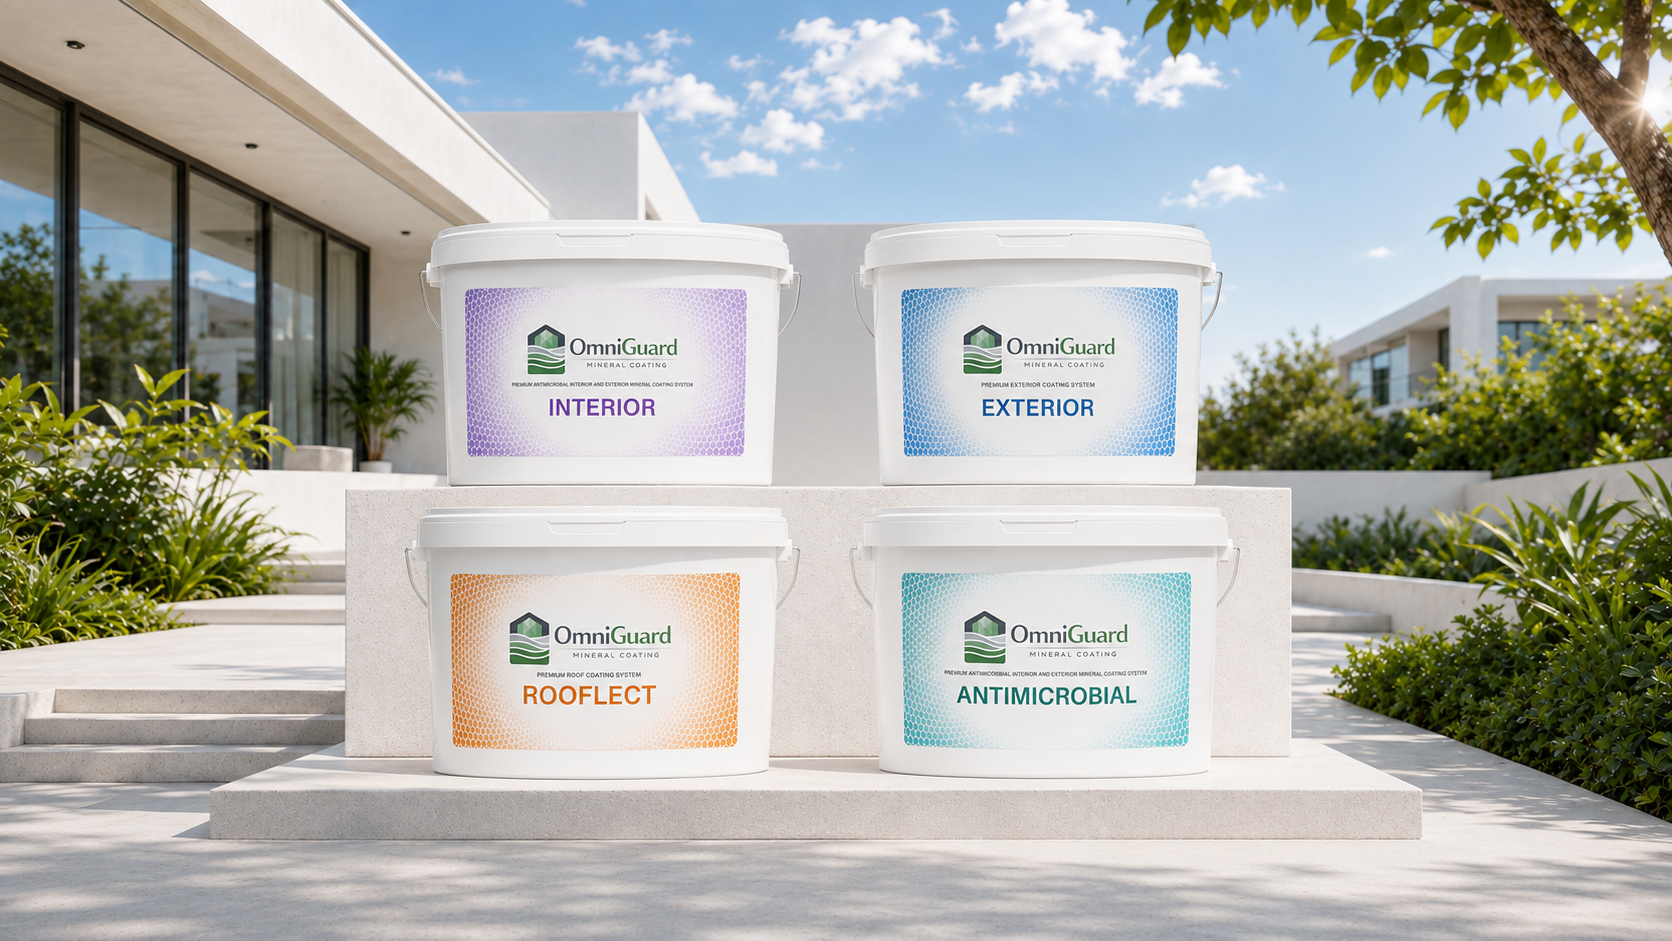
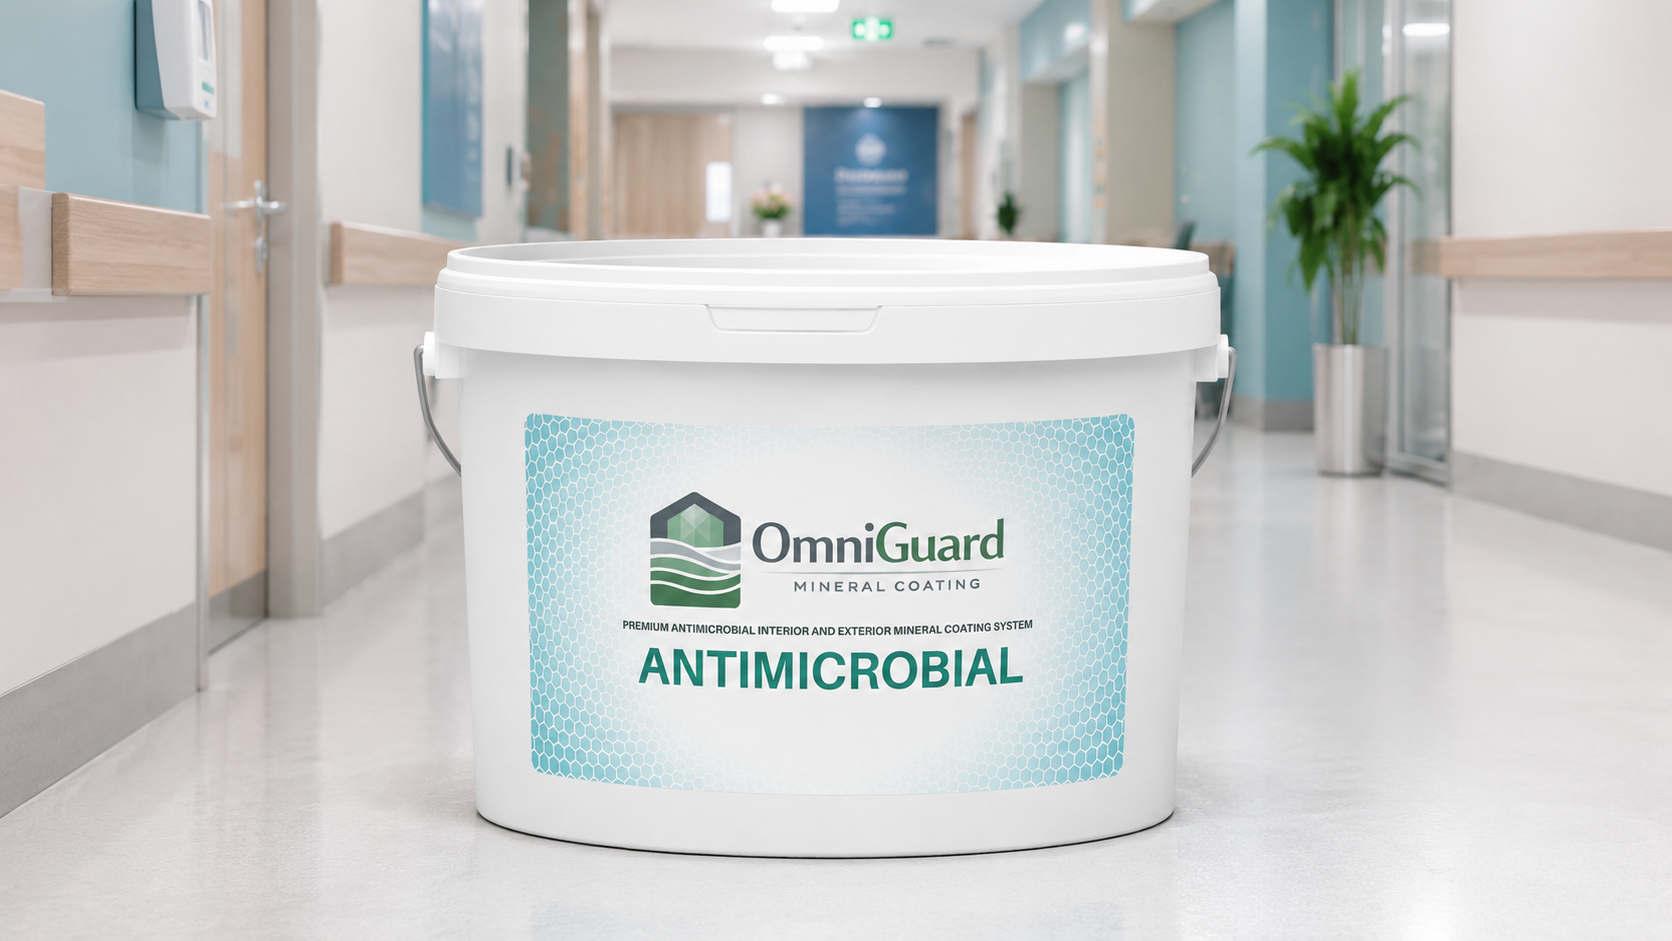
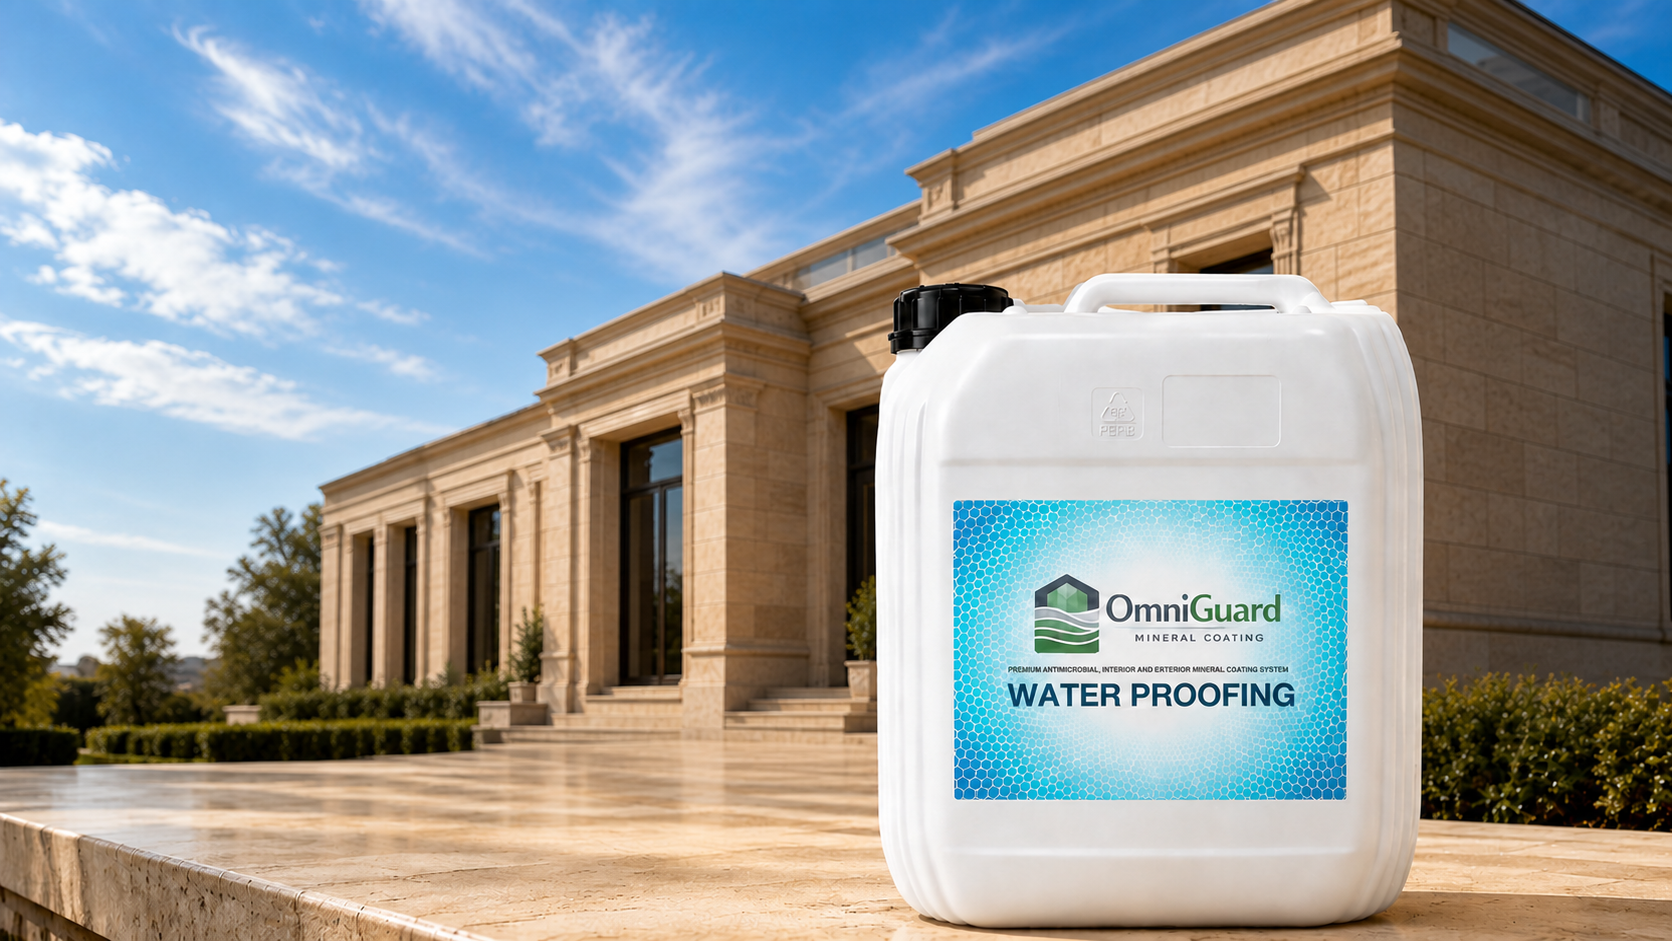
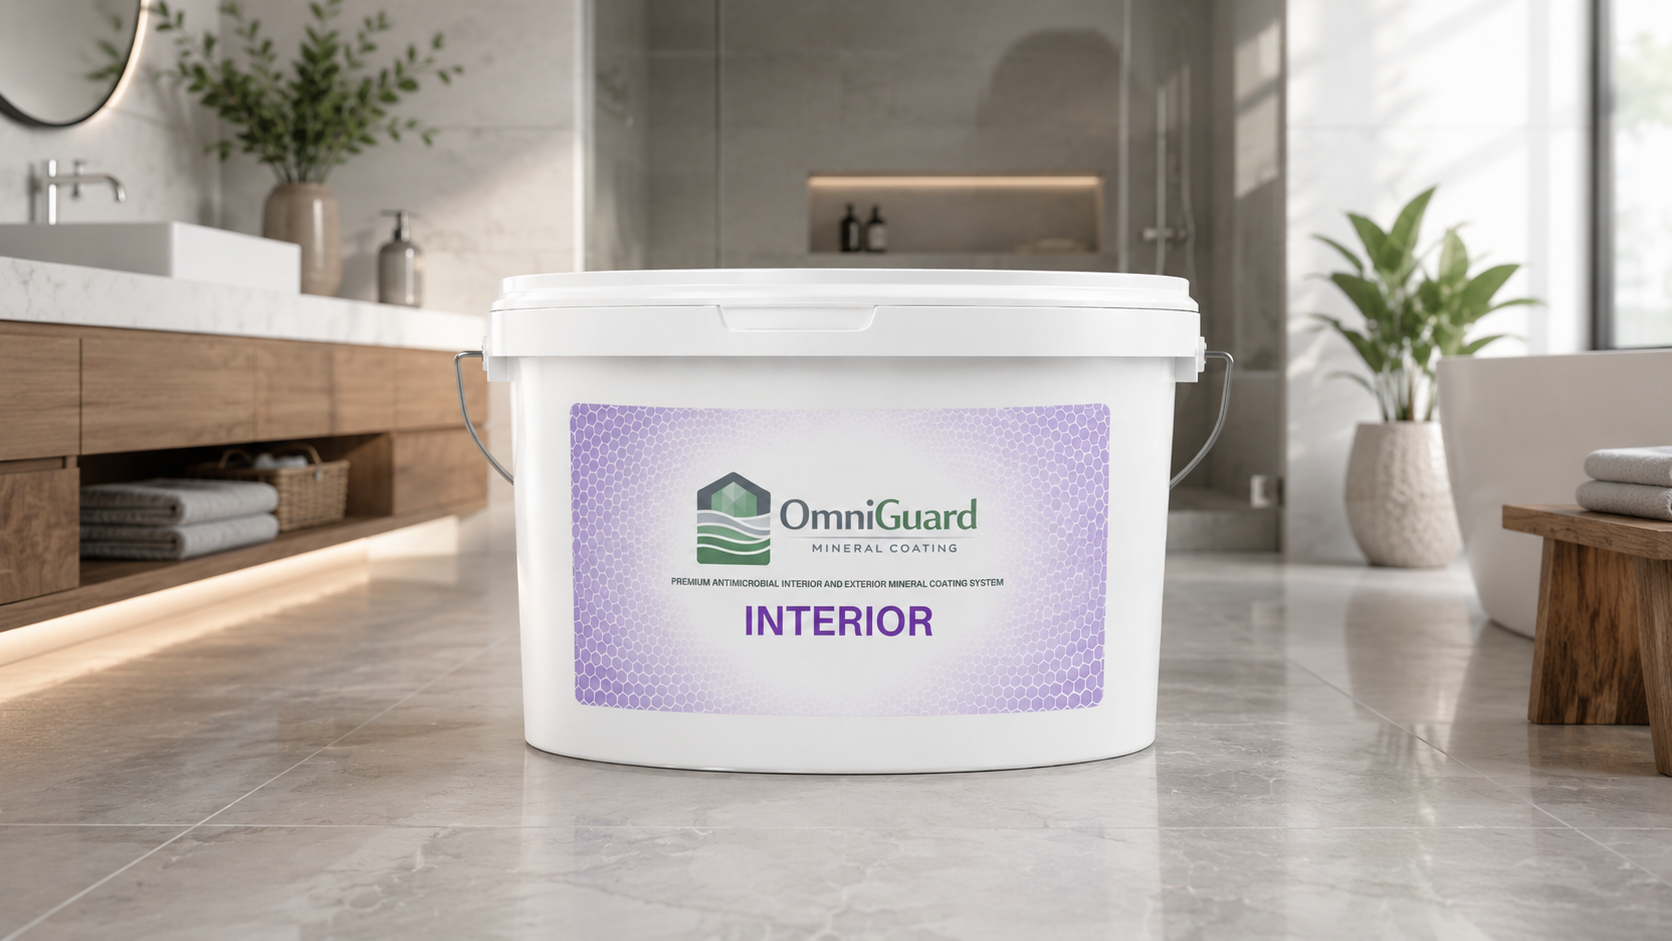
OmniGuard Interior, Exterior, Rooflect and Anti-Microbial coating buckets in an exterior setting

About Us

OmniGuard Australia

We believe buildings should support the health, safety and comfort of the people who use them, whether at home or at work. That means choosing sustainable building products that improve building performance while making sound economic sense.

OmniGuard Australia provides mineral-based coating systems for interior walls, external façades, roofs and hygiene-sensitive environments. Our coatings help create healthier, safer and more comfortable spaces while reducing energy use, operating costs and ongoing maintenance.

Our products address common building concerns, including:

  • Thermal comfort
  • Condensation and mould
  • Volatile organic compound (VOC) emissions, including formaldehyde
  • Trapped moisture
  • Fire safety

How it works

A simple comparison is a rain jacket. A plastic raincoat may keep water out, but it does not breathe. Moisture can become trapped inside, creating an uncomfortable environment where mould and microorganisms may develop.

OmniGuard coatings help water vapour pass through the surface instead of becoming trapped. Their highly reflective finish also reduces radiant heat absorption, providing an insulating effect and supporting more comfortable indoor temperatures.

Our story

MIG (Material Innovative Gesellschaft) was established in Salzkotten, Germany, in 2001. For more than 25 years, the company has developed and manufactured premium, environmentally responsible building materials.

MIG Pacific was established in Melbourne in 2020 to serve Australia and the wider Australasian market. Since then, we have delivered projects across aged care, education, heritage and residential buildings. Customers have selected our coating systems for goals including energy efficiency, improved indoor environments and mould prevention.

Today, these products are marketed under the OmniGuard brand and include:

  • Active coatings based on the Double Hybrid Membrane (DHMb®) principle
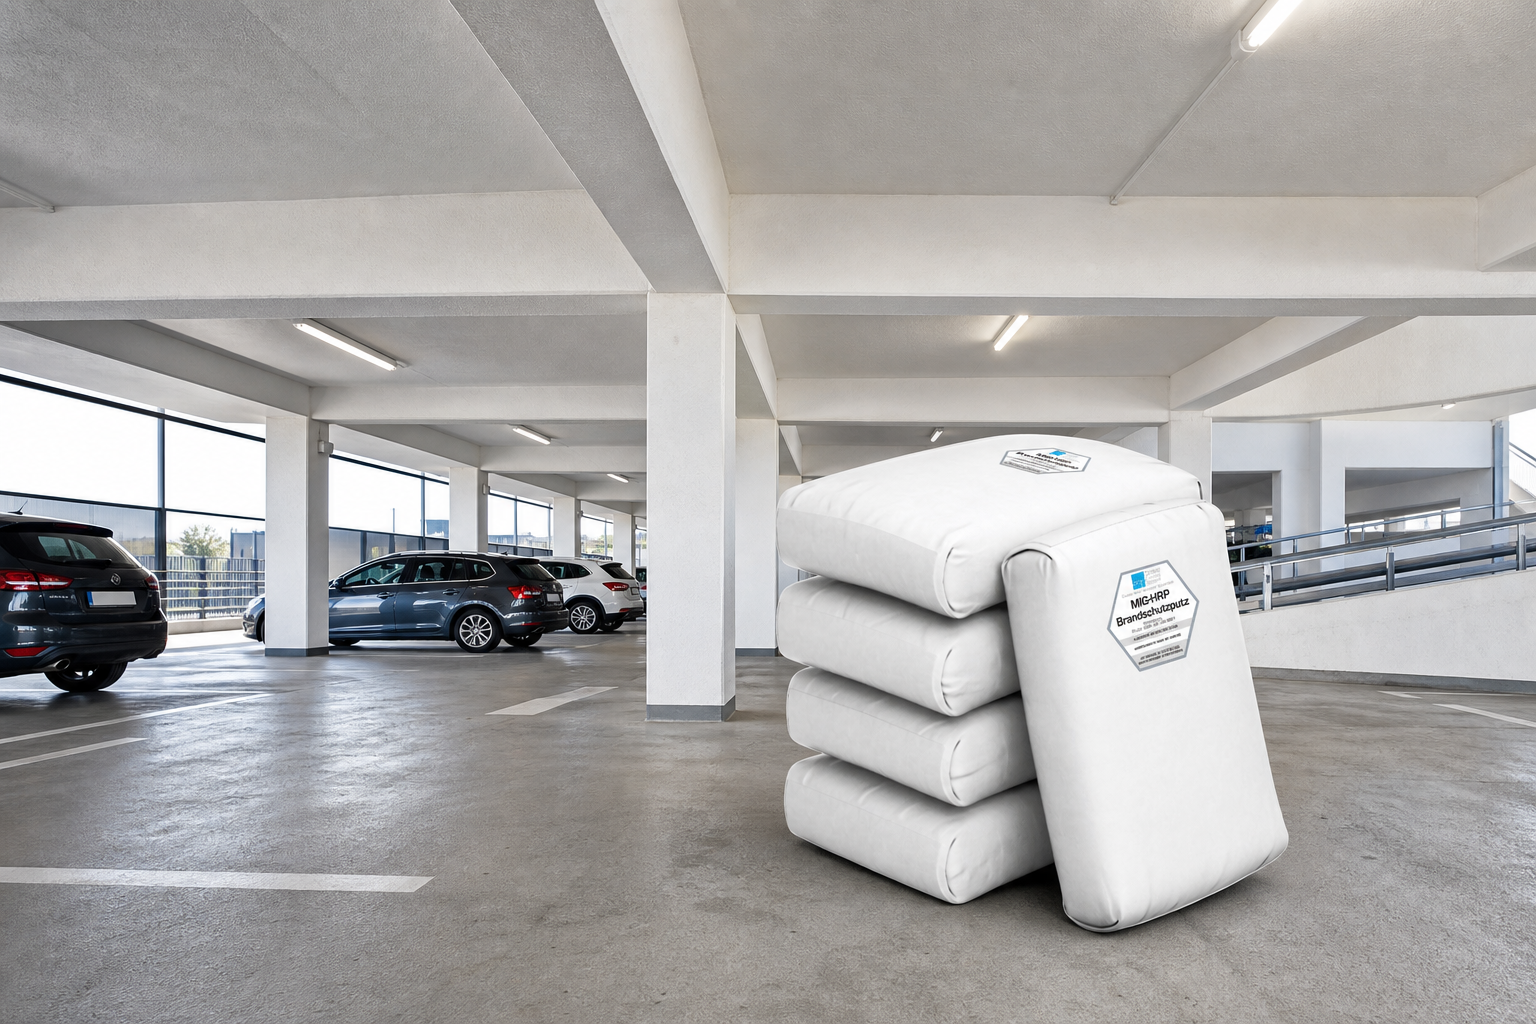
  • Specialist plasters for fire protection and thermal insulation

Our Melbourne warehouse stocks the OmniGuard coating and plaster range. We can also tint coatings locally to suit virtually any required colour.
Projects

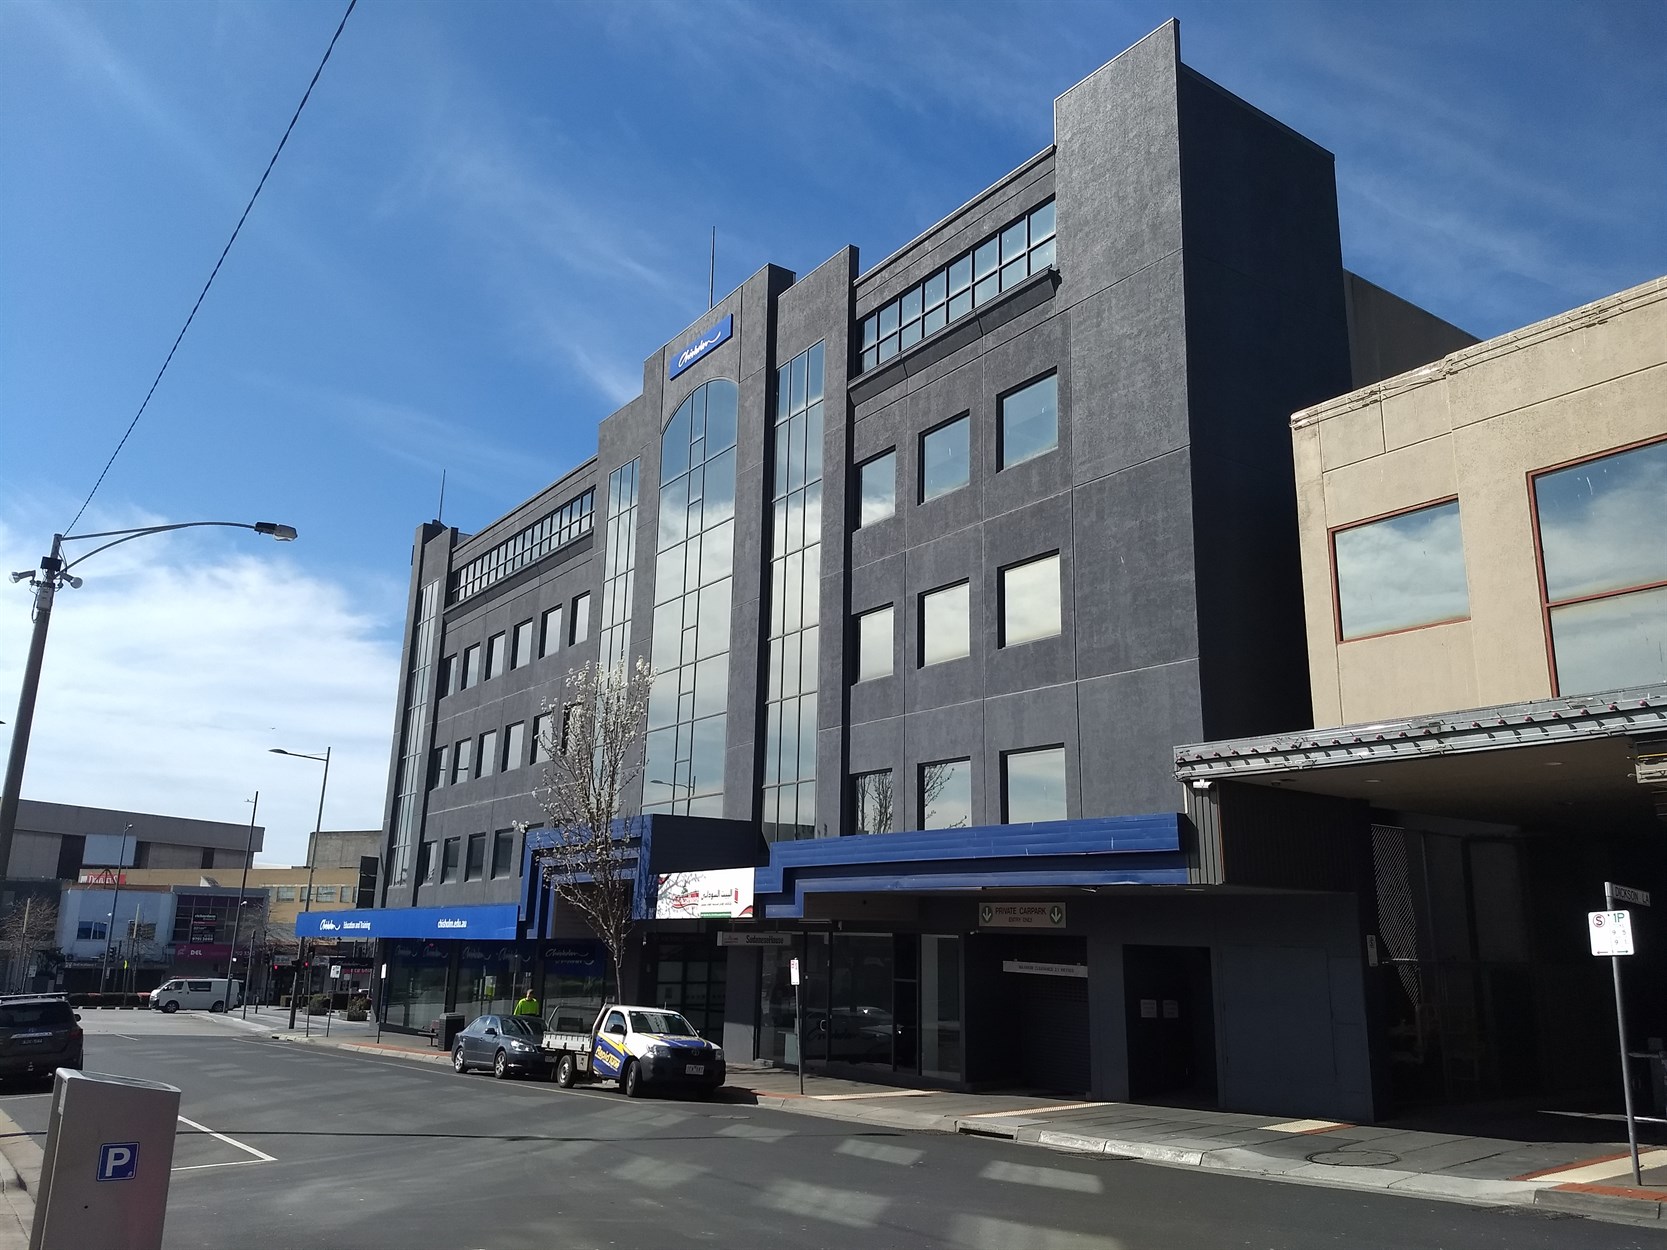
311 Lonsdale Street exterior coating project 03 311 Lonsdale Street Story in Progress
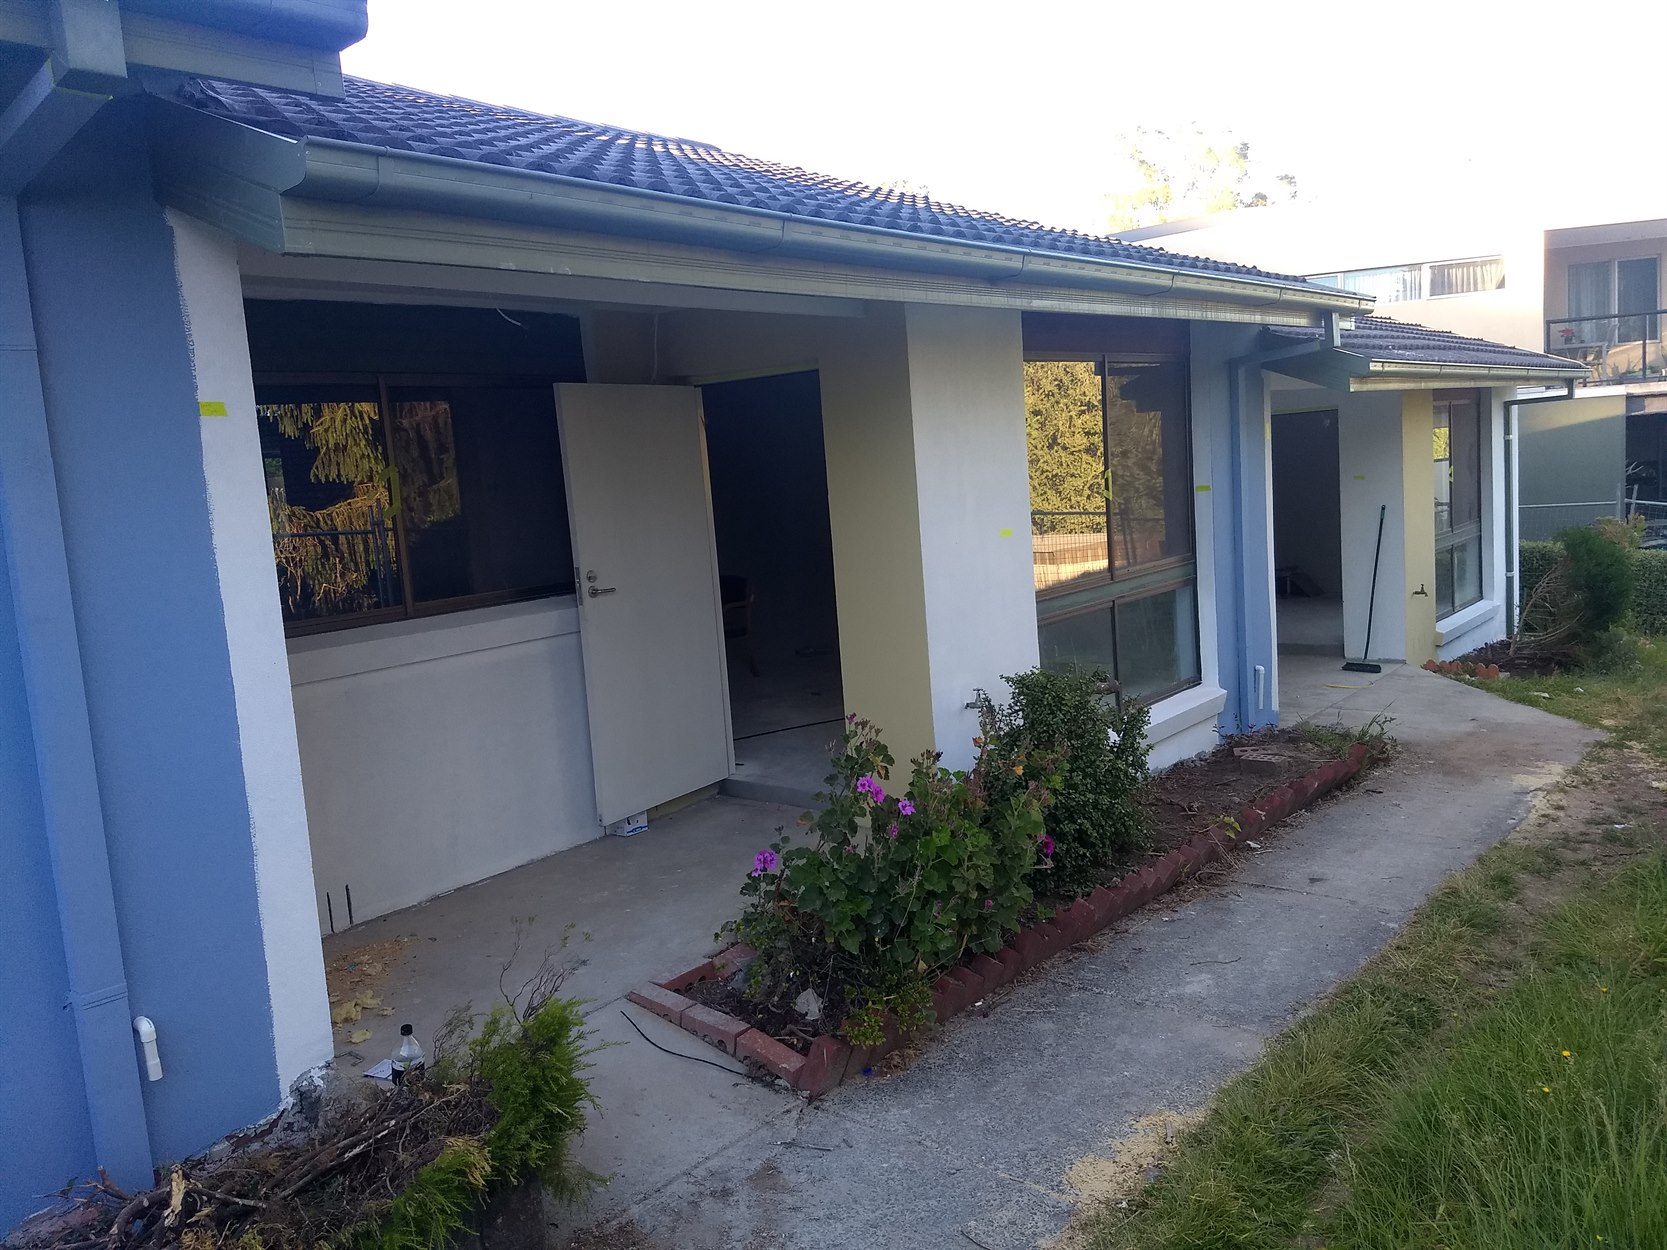
Martin Luther Homes Boronia exterior coating project 04 Martin Luther Homes Story in Progress
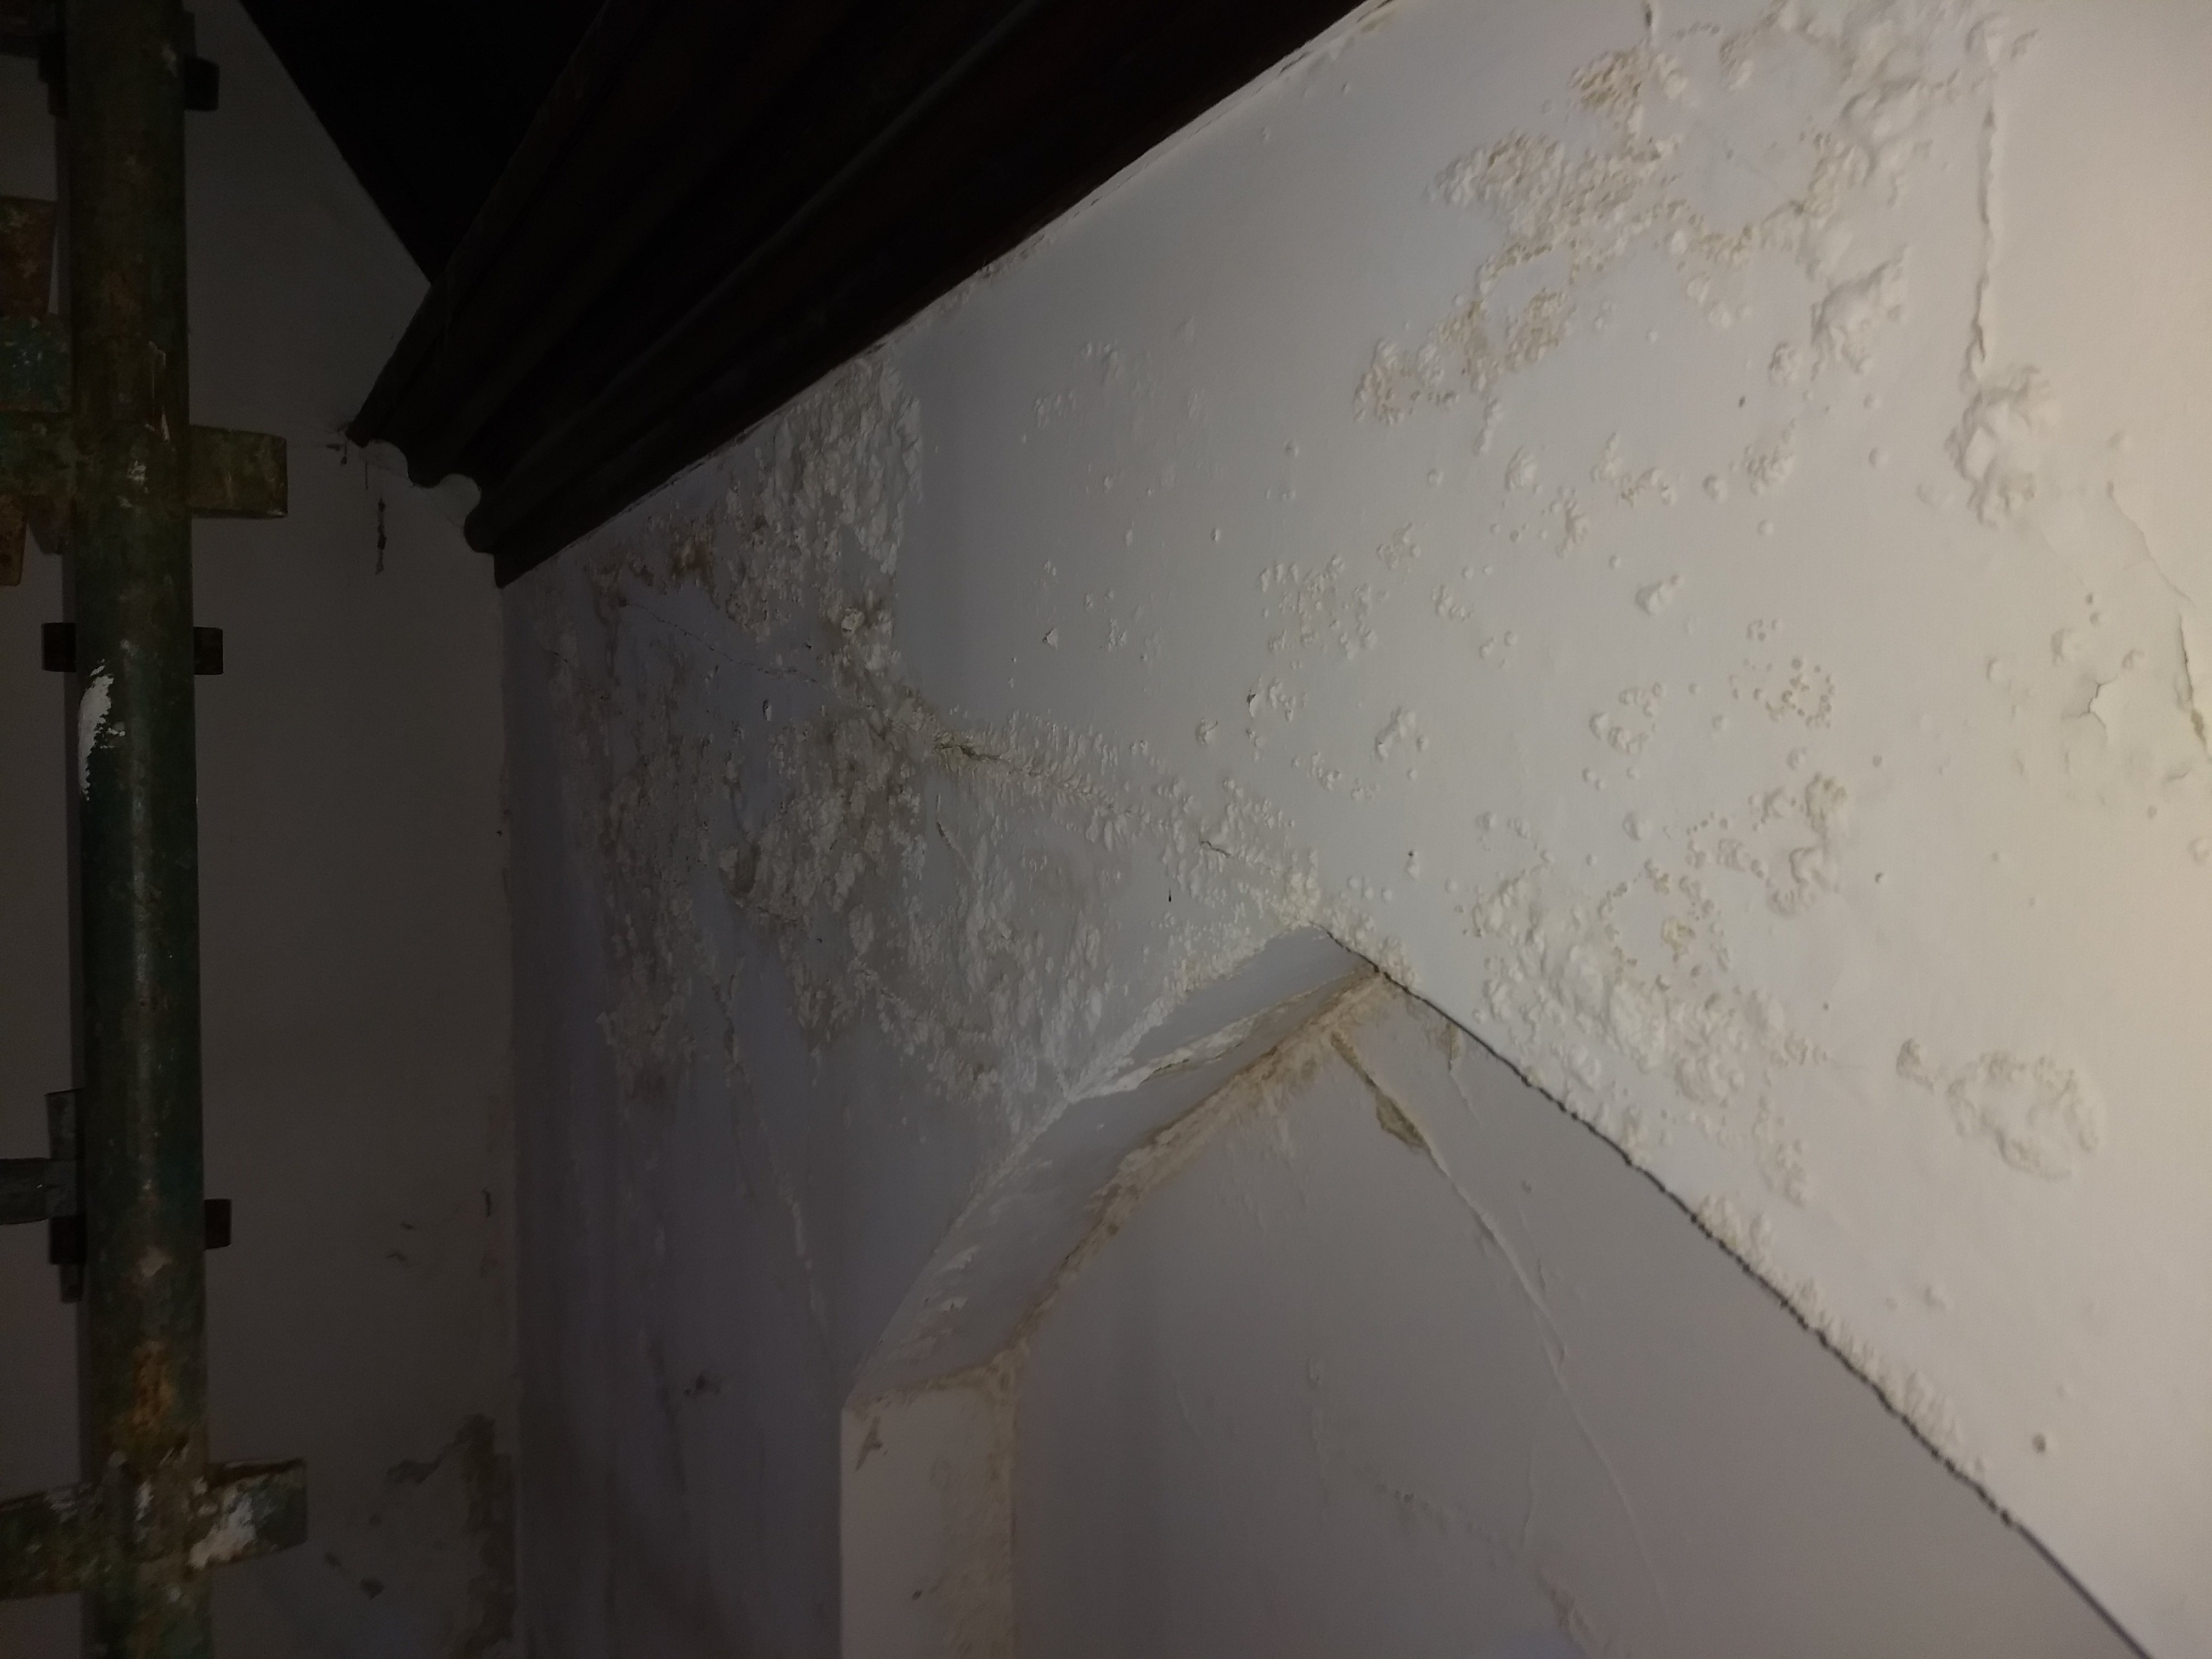
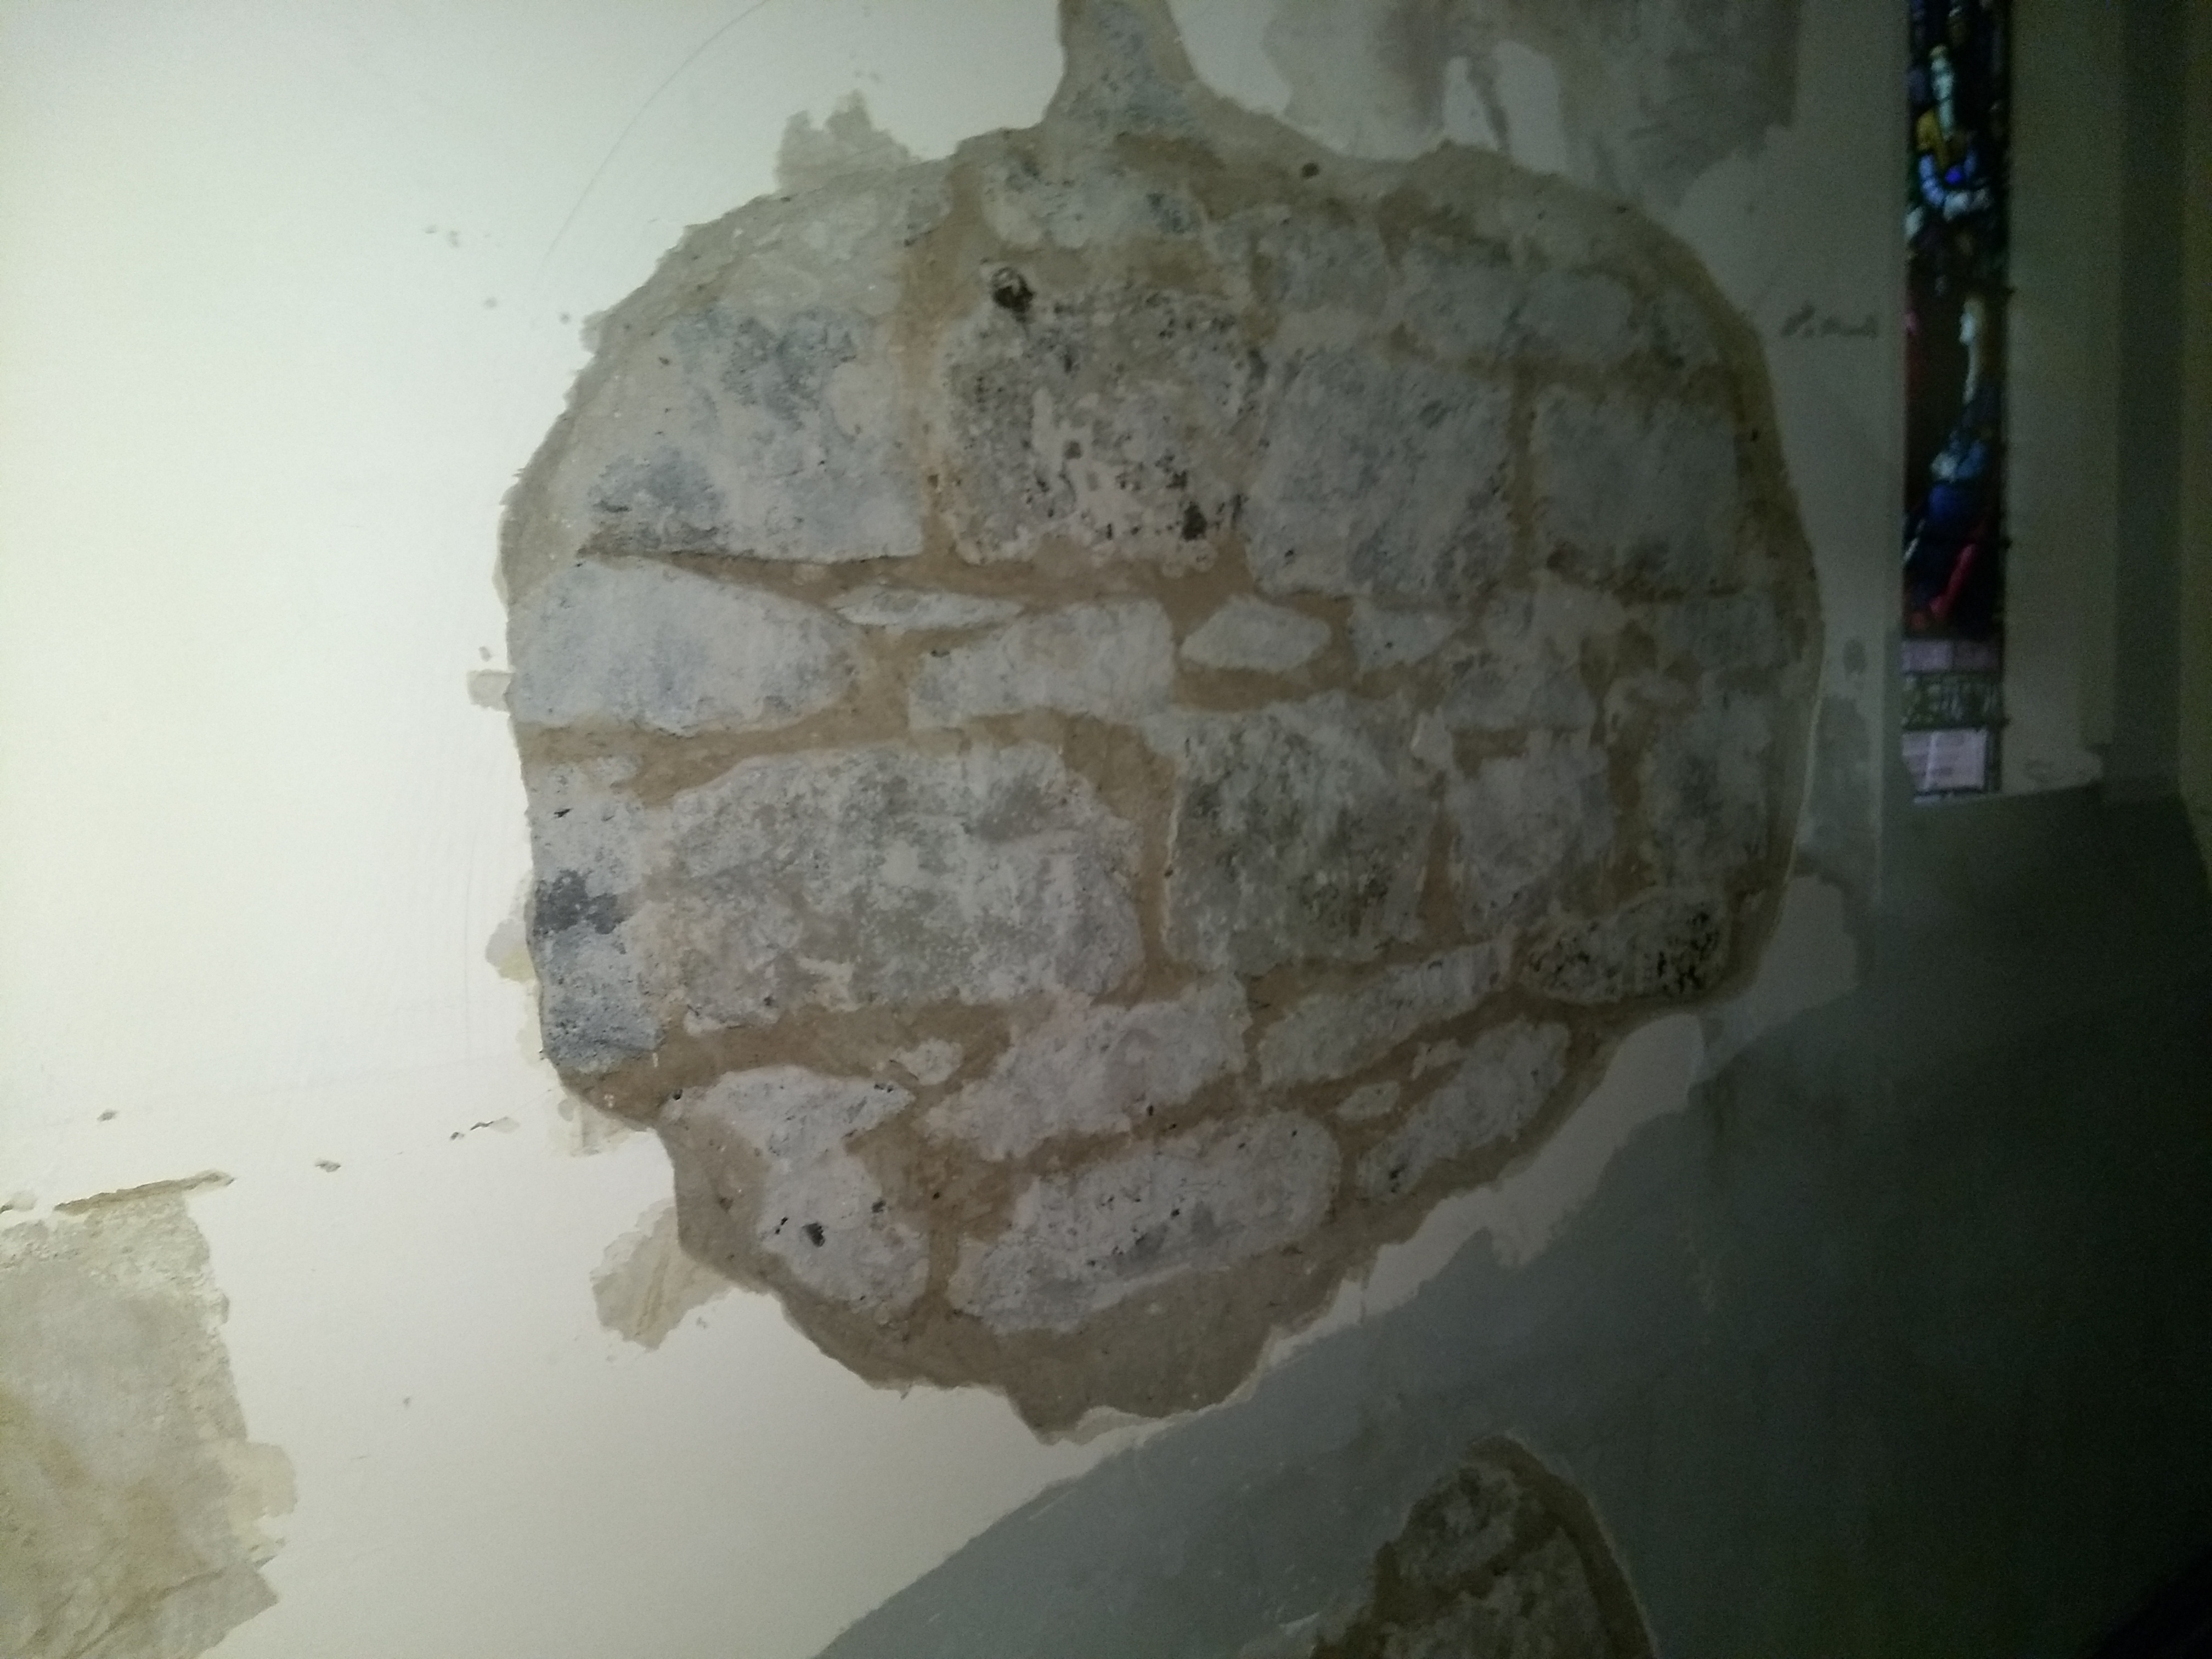
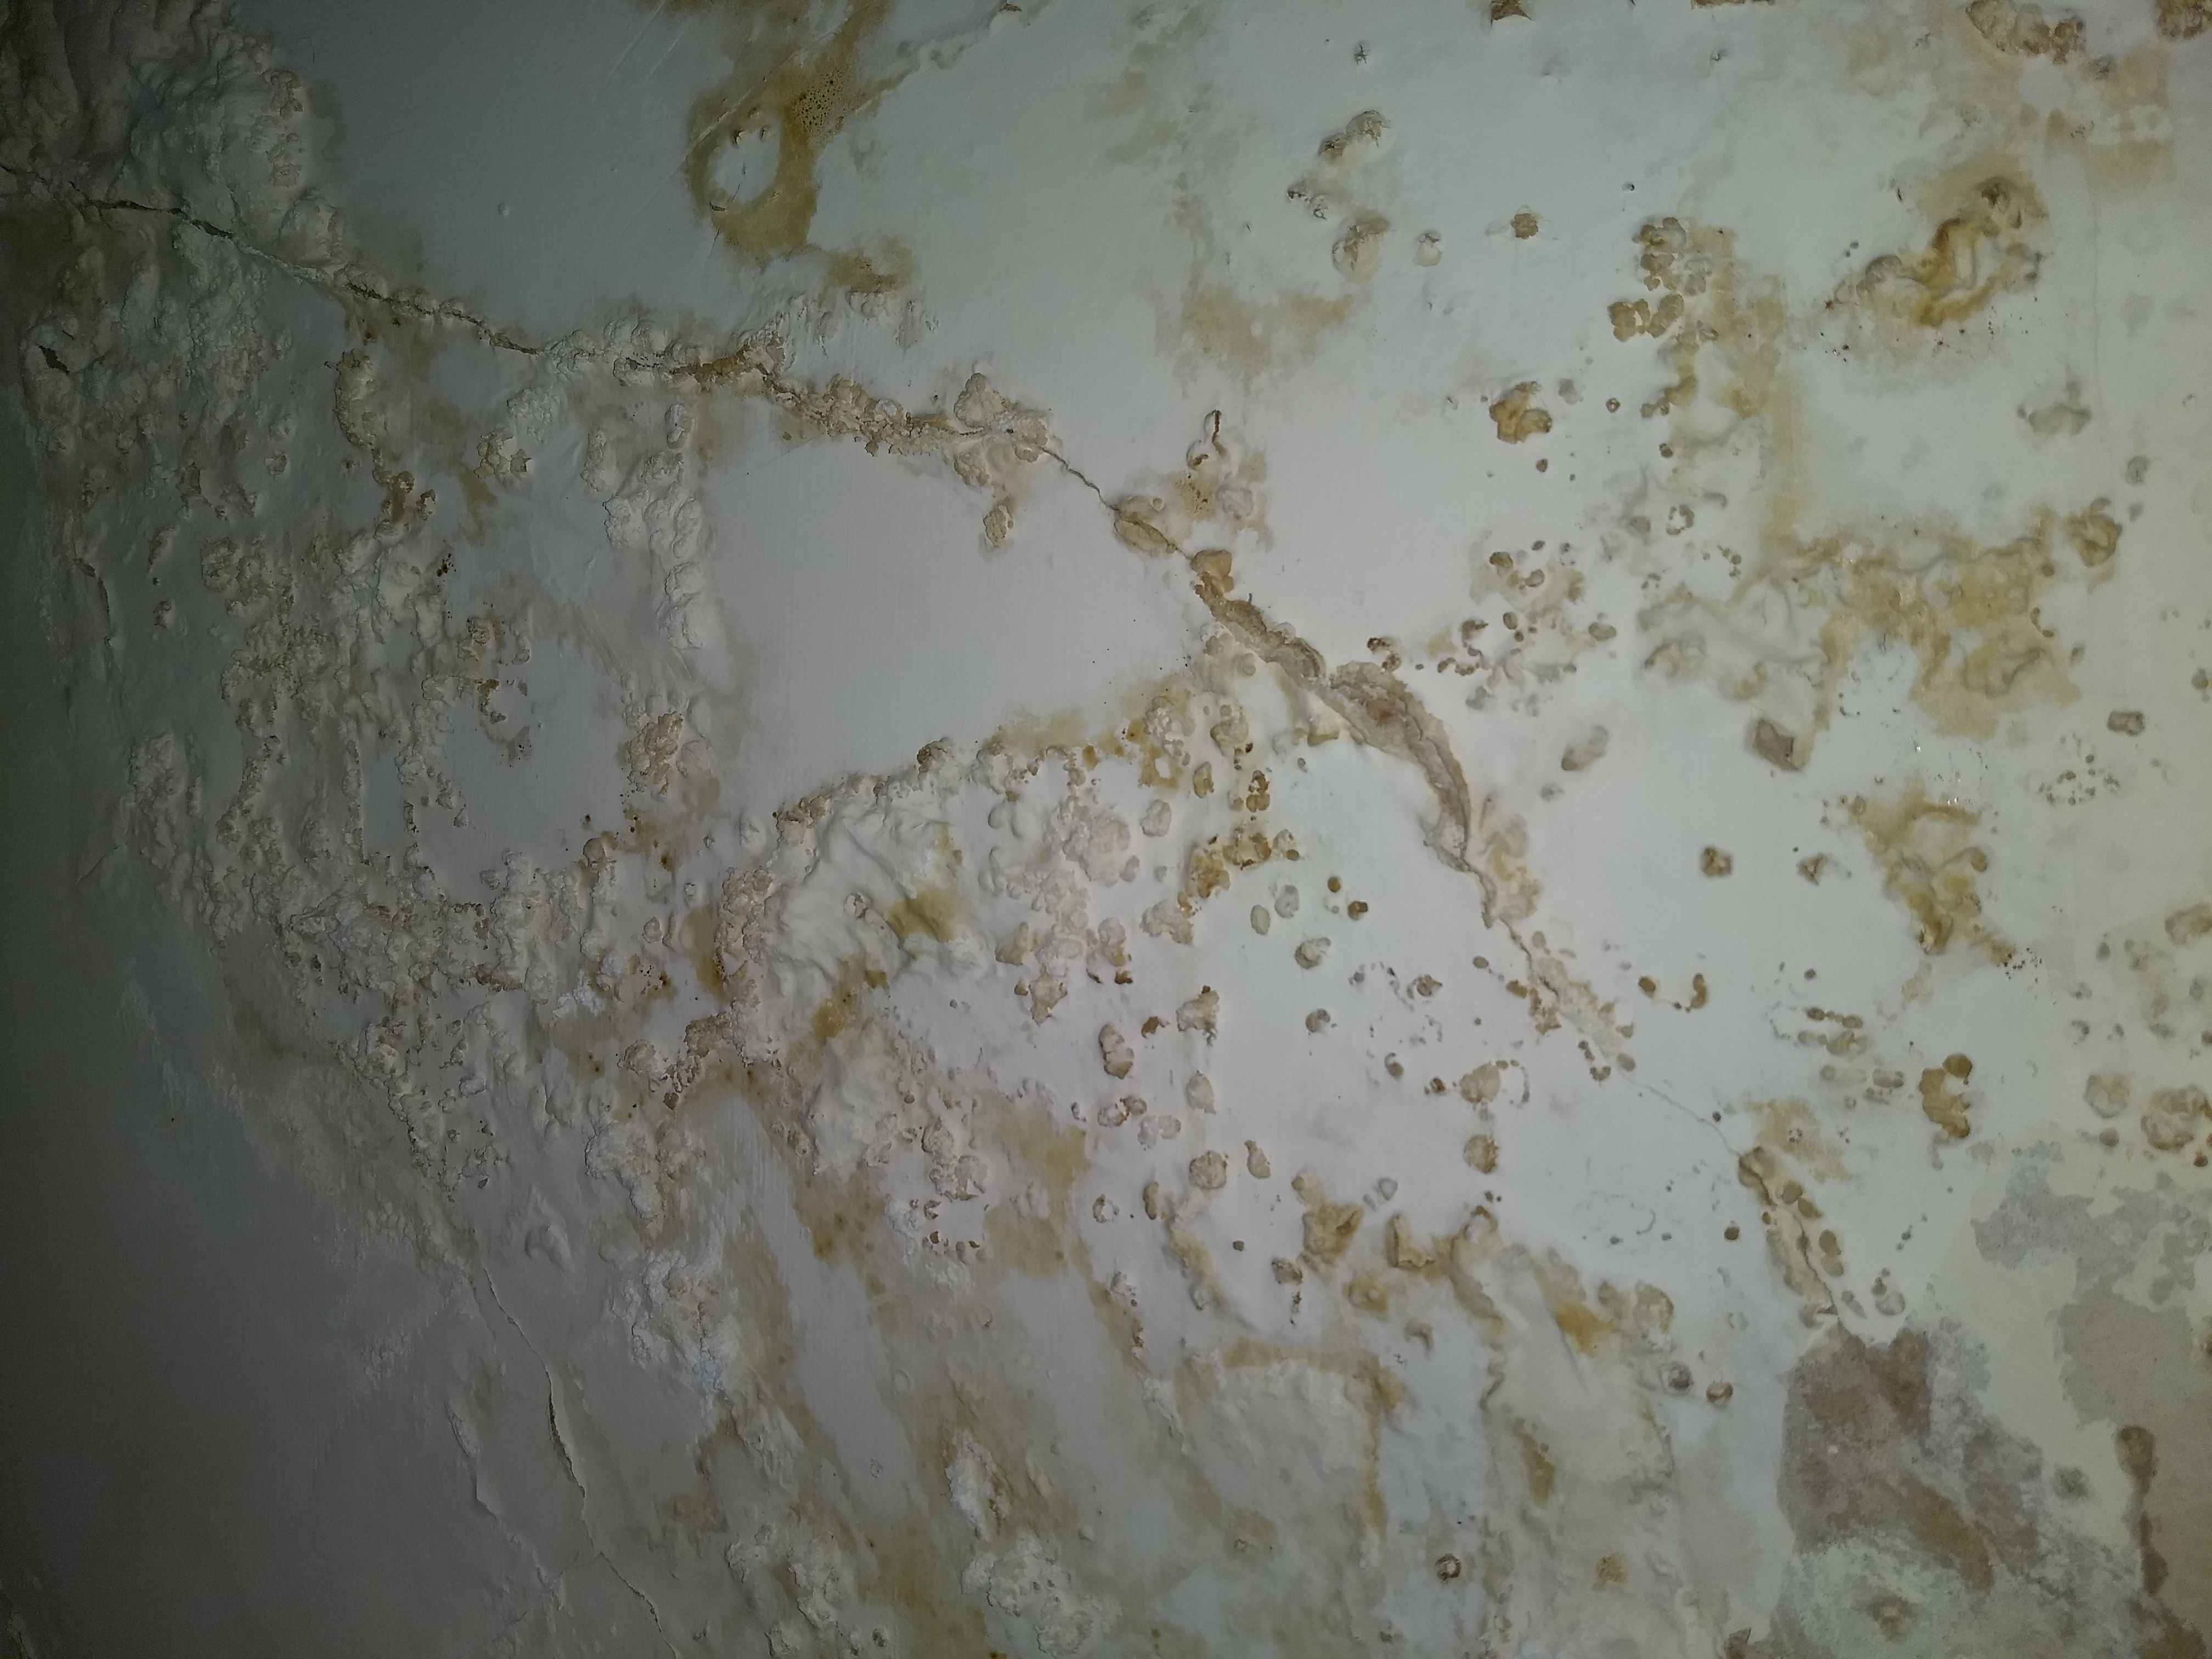
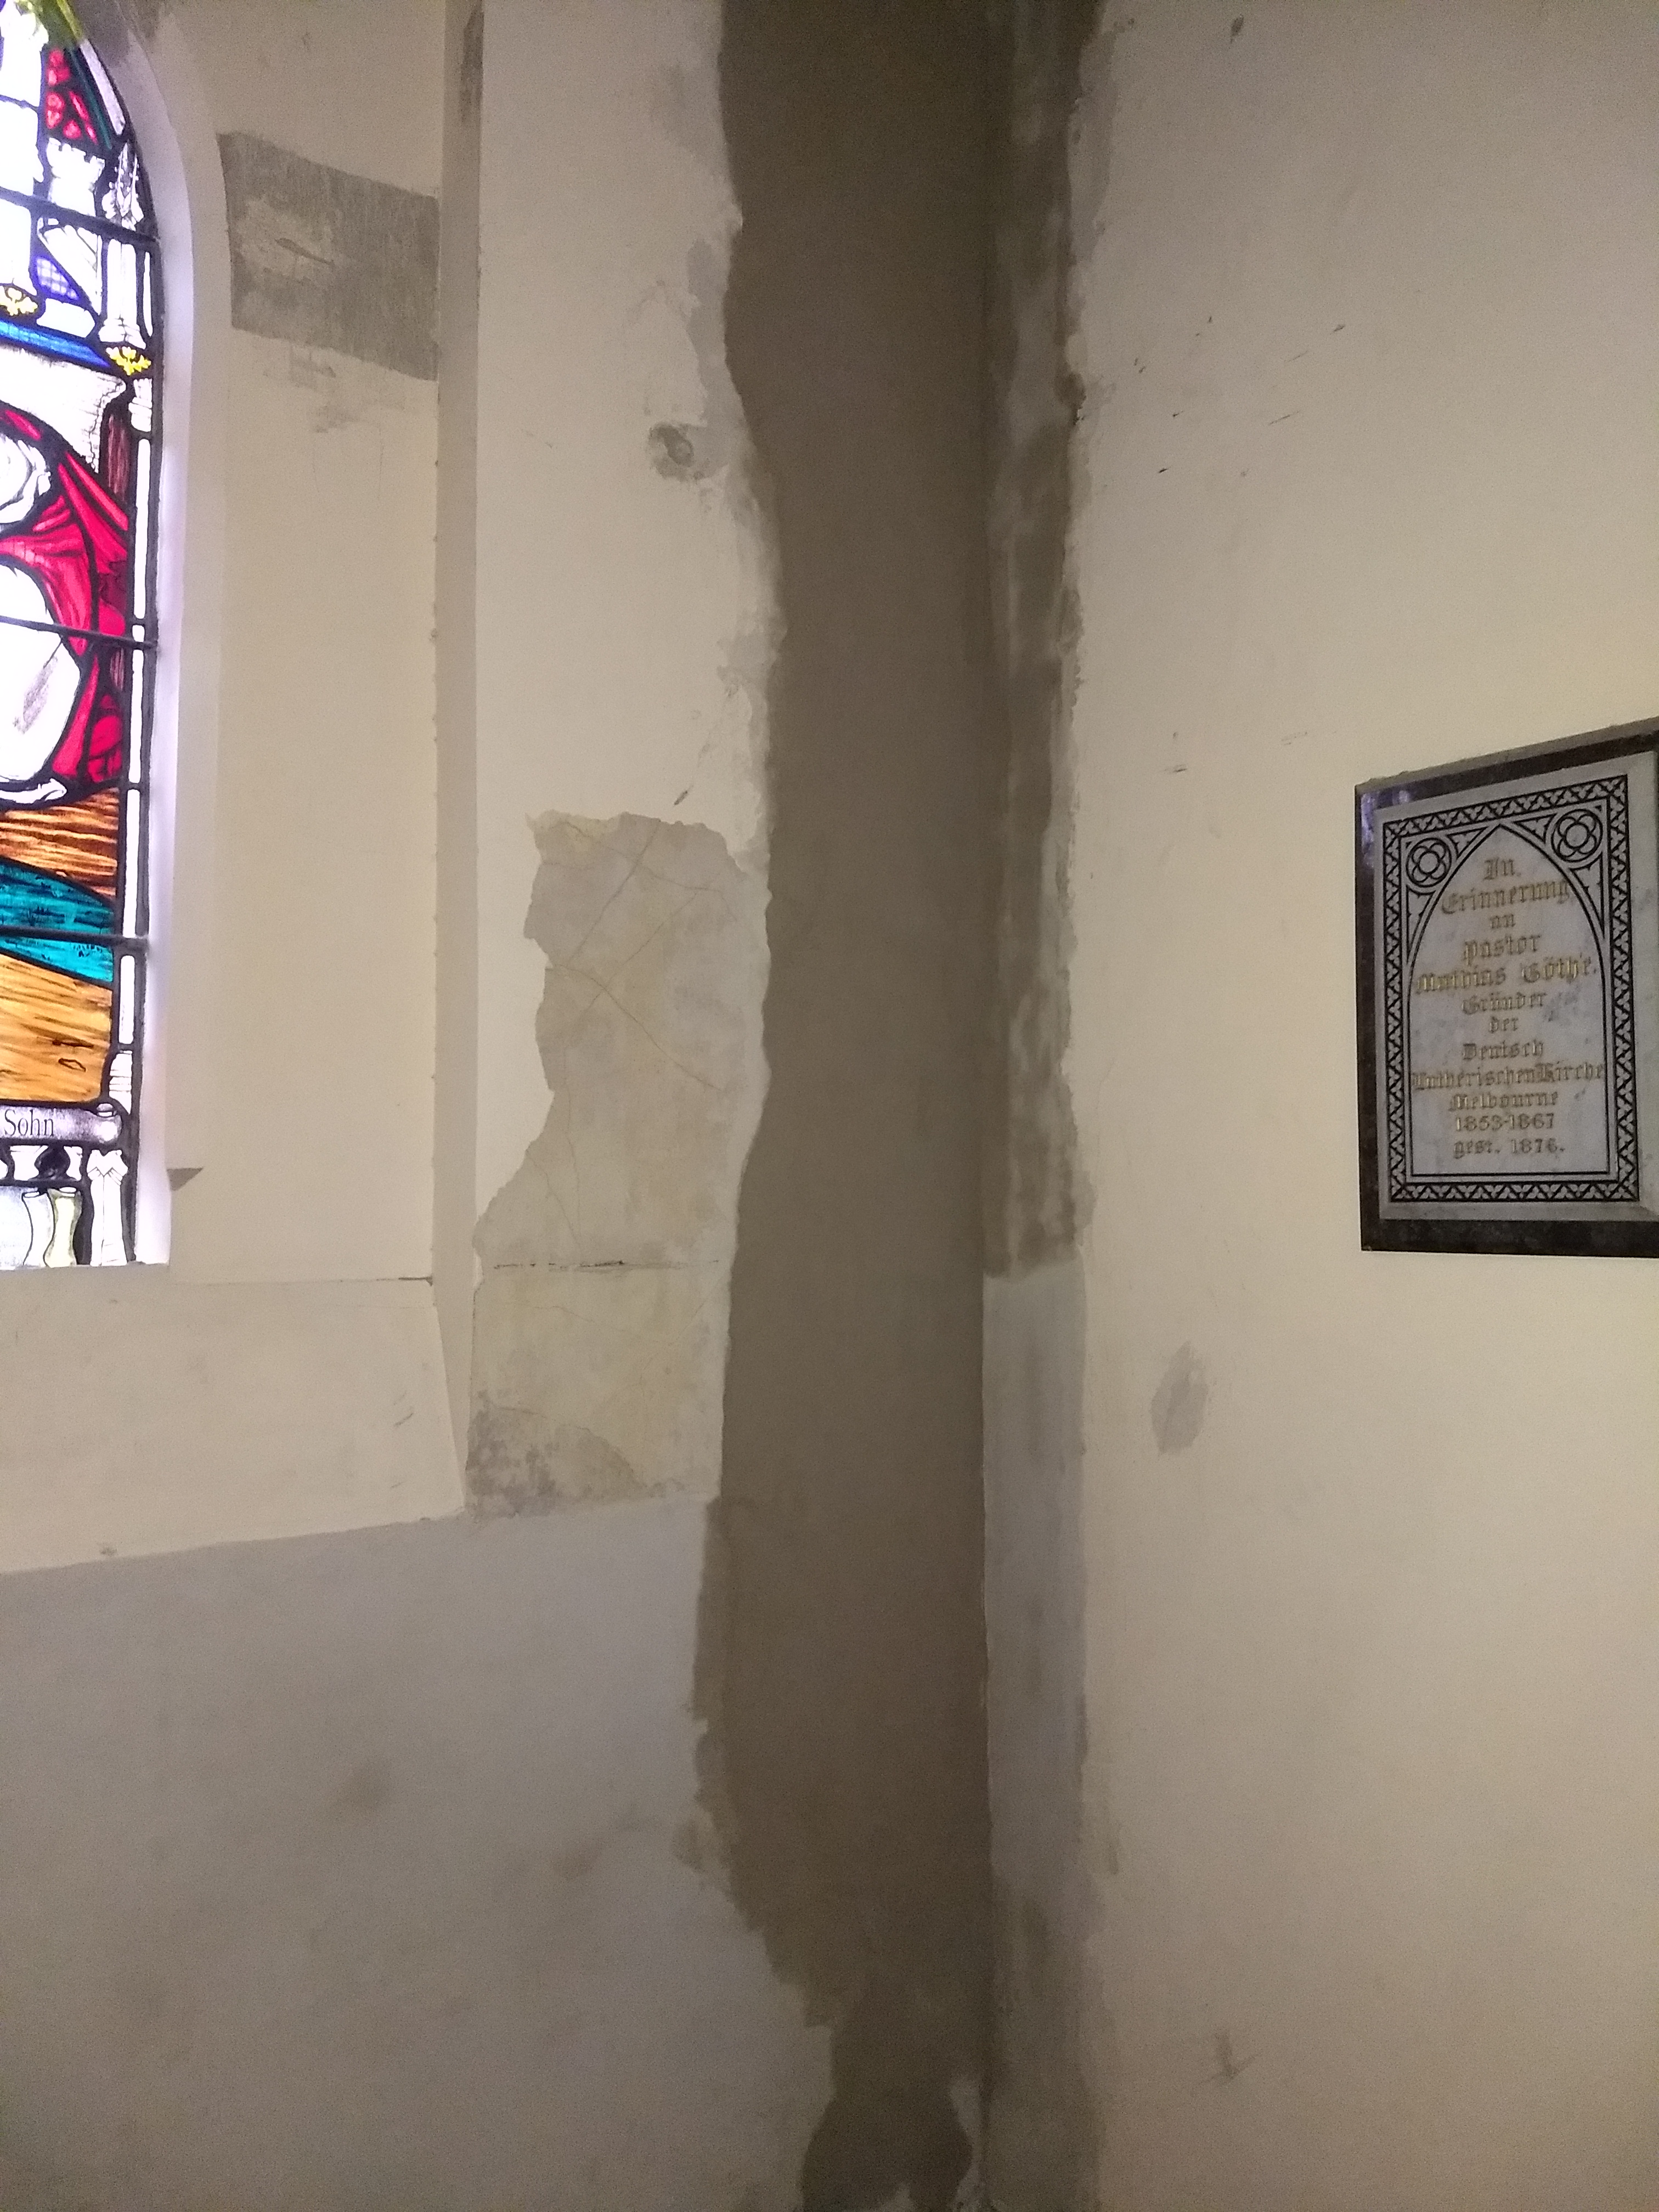
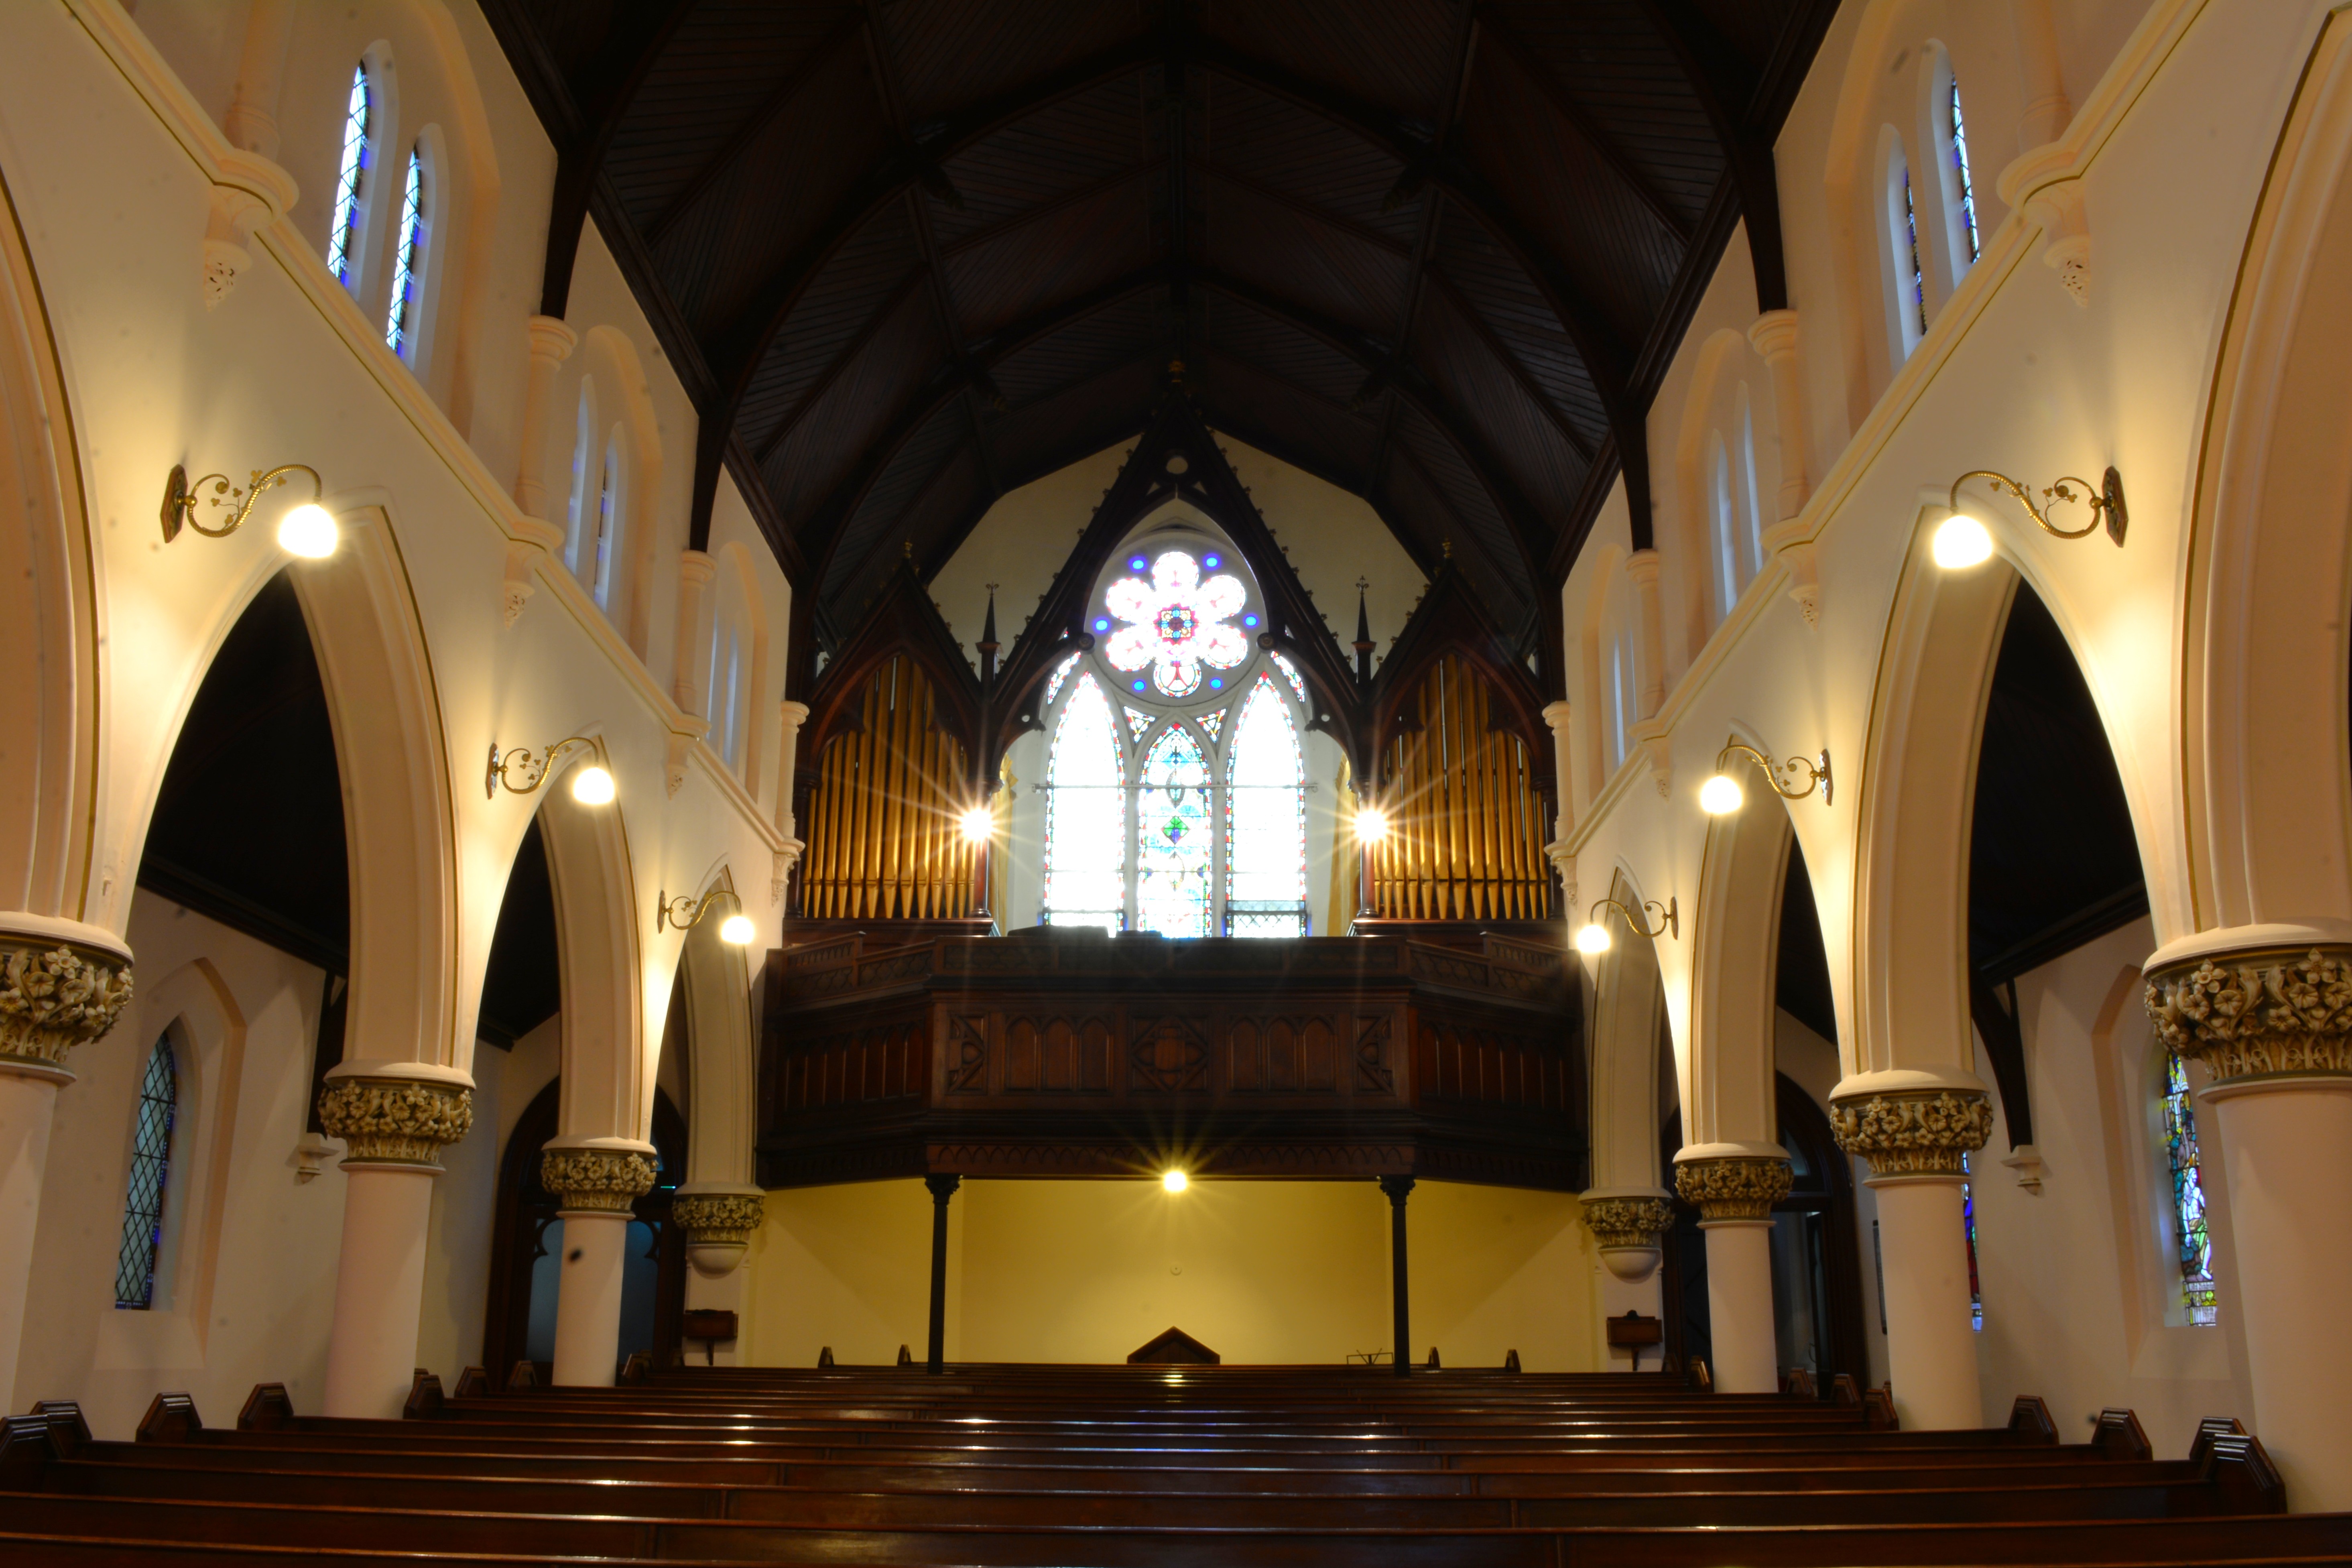
Water damaged church wall with blistered plaster before restoration Exposed masonry after failed plaster was removed from the church wall Moisture staining and salt activity across the church wall before repair Localised repair area beside a stained glass window inside the church Broad mineral plaster repair zones along the church wall Church interior with scaffold access during coating works Completed German Lutheran Trinity Church nave after coating works Completed church arches with warm interior lighting after restoration Completed church sanctuary with restored mineral coating finish
01

Water Damage Identified

Step 01 | Existing Condition

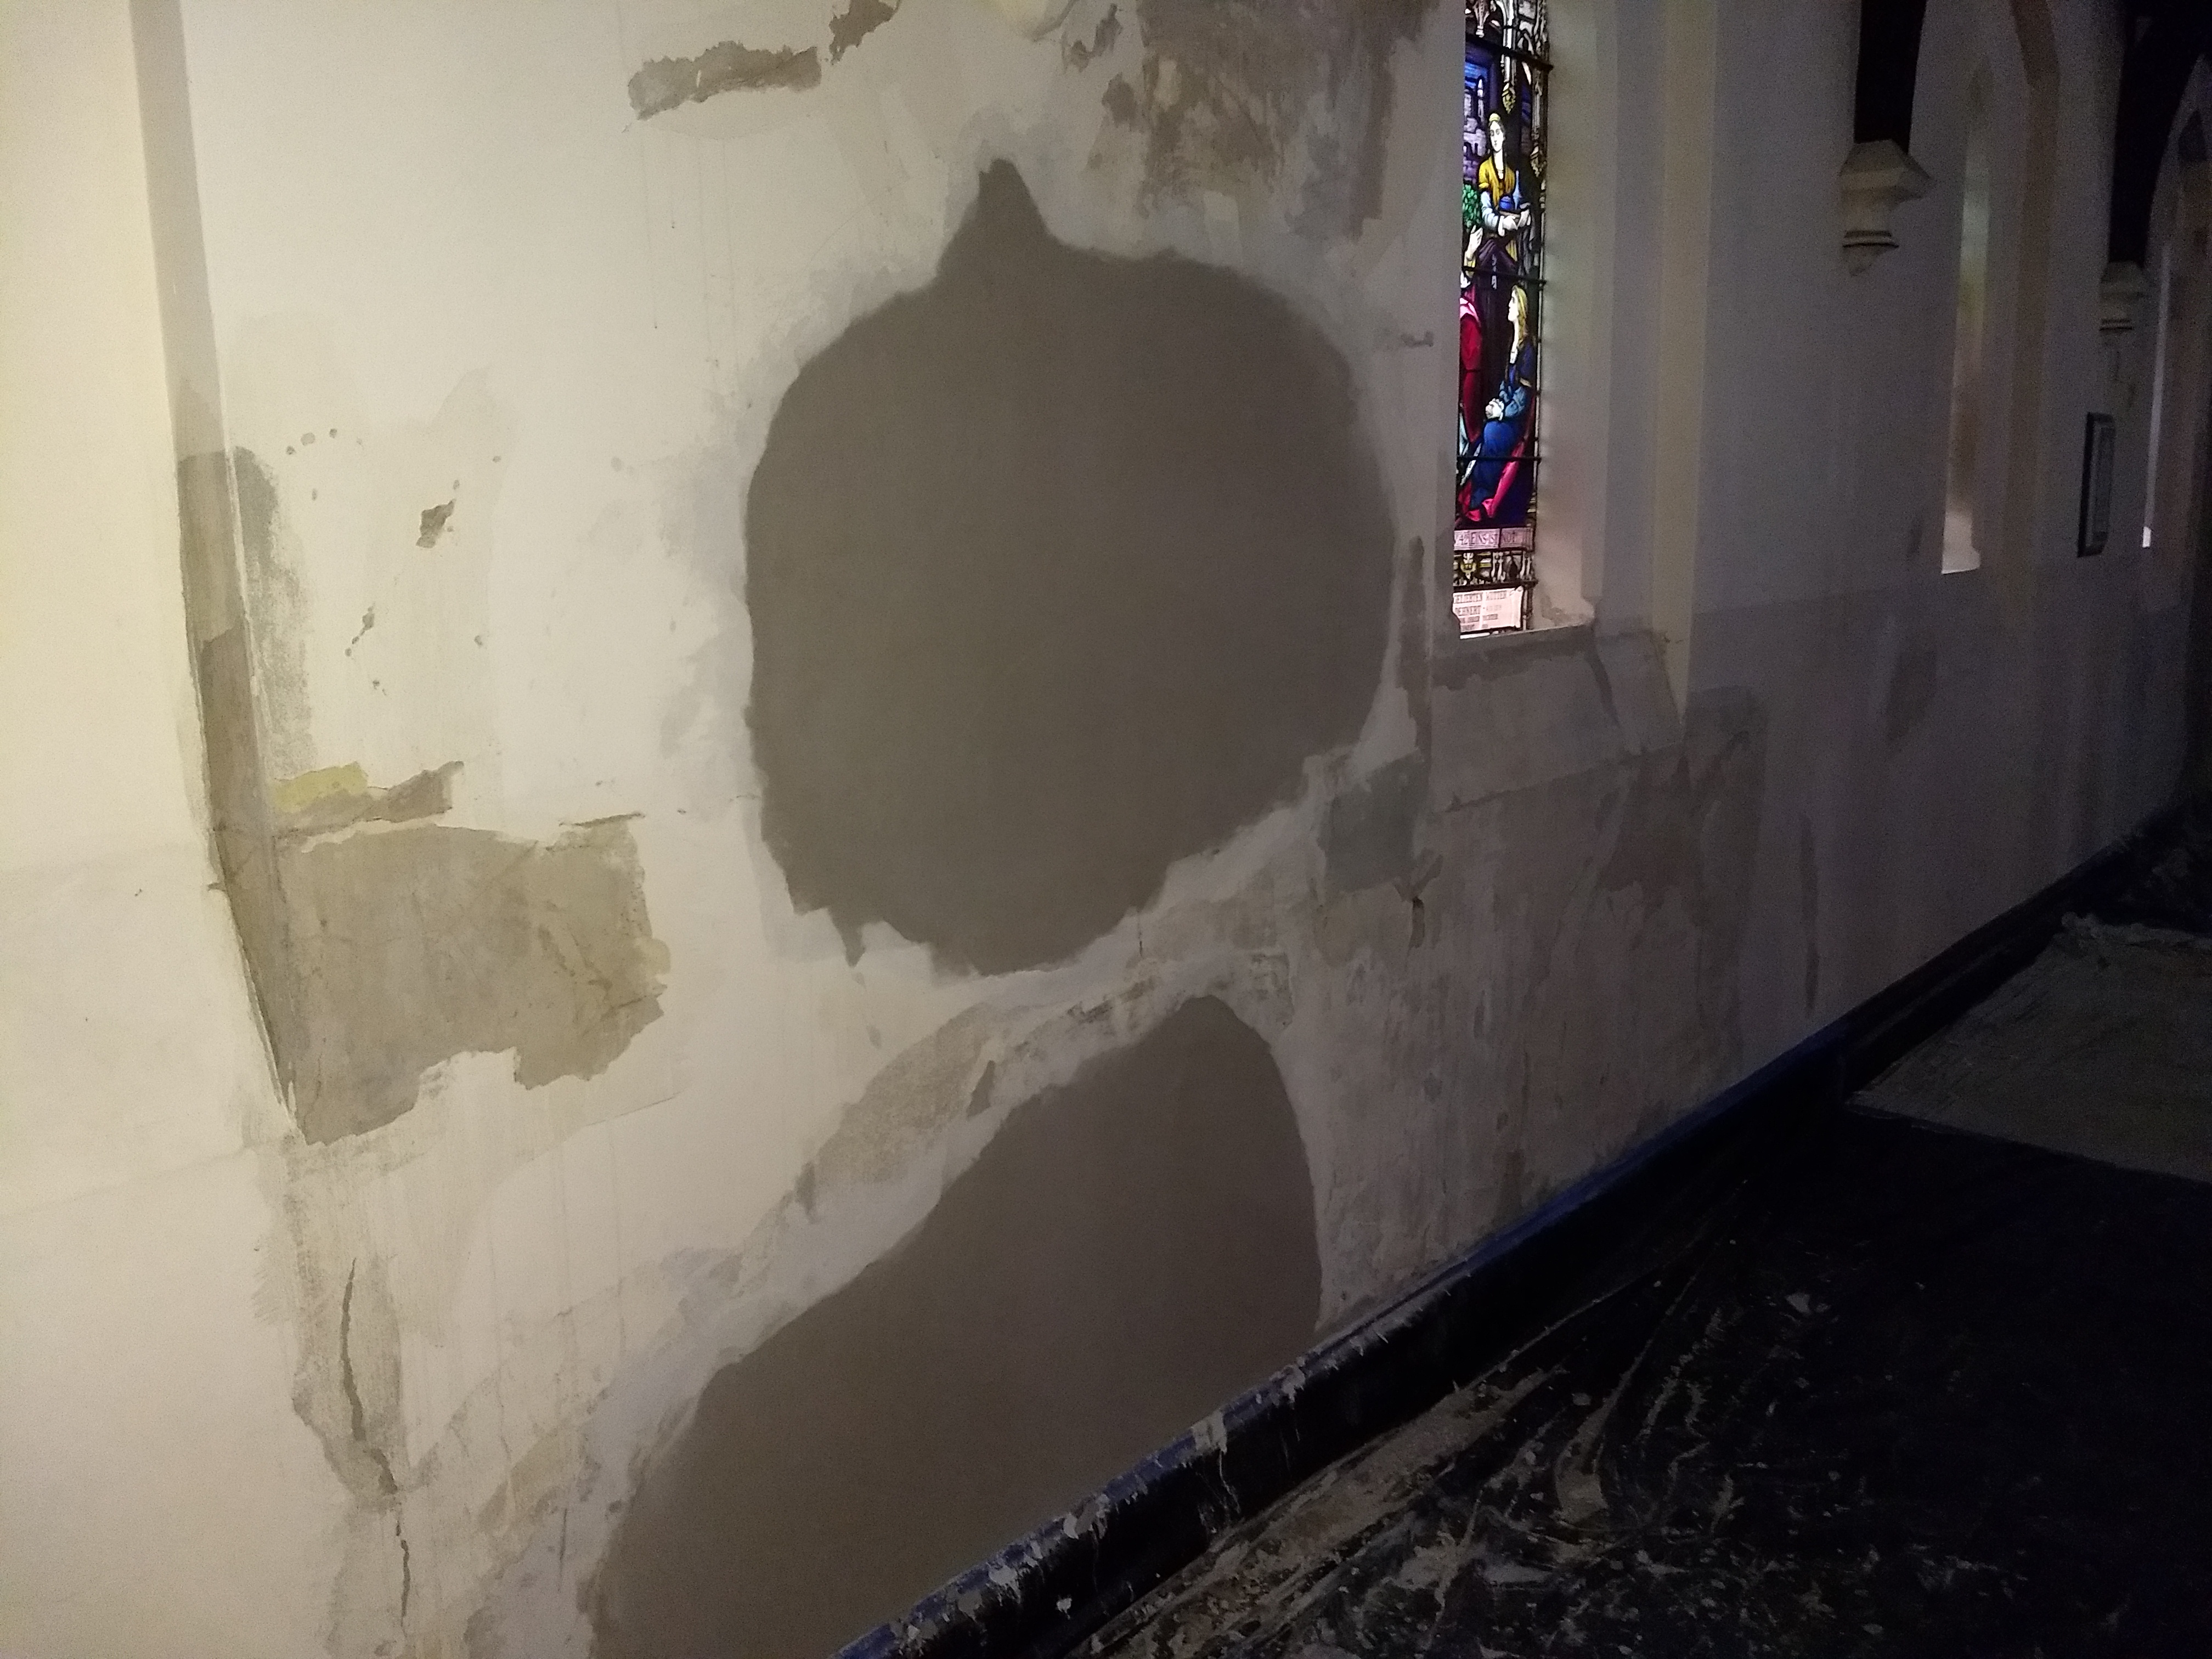
Blistered plaster and surface staining showed moisture trapped beneath dense paint layers. The wall required a breathable repair method rather than a simple repaint.

Observation: The failure pattern confirmed roof-water damage and poor vapour release through the existing coating.

  • Blistering and salt activity were visible.
  • Moisture was retained within the plaster profile.
  • The repair approach needed drying capacity.
02

Substrate Exposed

Step 02 | Removal And Inspection

Failed plaster and coating layers were removed to expose the masonry beneath. This made the damage visible and allowed the repair to address the cause, not only the surface.

Purpose: Exposing the substrate created a sound base for mineral repair materials and future vapour movement.

  • Loose and contaminated material was removed.
  • The masonry condition could be assessed directly.
  • Repair zones were defined with greater accuracy.
03

Moisture Path Mapped

Step 03 | Damage Reading

Staining, cracking and salt movement showed the path water had taken through the wall. The visible pattern helped guide the scope of preparation and repair.

Purpose: The repair area was governed by building behaviour, not by a cosmetic boundary.

  • Moisture movement was visually confirmed.
  • Repair scope remained targeted and controlled.
  • The coating system needed vapour permeability.
04

Localised Repair

Step 04 | Heritage Detail Protection

Localised repair work was carried out beside stained glass and memorial details. The aim was to stabilise the substrate while preserving the heritage setting.

Purpose: Sensitive areas were repaired in place, limiting disturbance to retained building fabric.

  • Repairs were kept localised where possible.
  • Heritage elements remained visible and protected.
  • The wall was prepared for compatible mineral finishing.
05

Localised Repair

Step 05 | Surface Reinstatement

Damaged zones were rebuilt with compatible mineral repair materials. The wall was stabilised without closing the surface to vapour movement.

Purpose: The substrate was returned to a sound, open mineral surface suitable for OmniGuard Interior.

  • Localised plaster loss was reinstated.
  • Surface texture was prepared for the final coating.
  • Repair materials supported drying after roof repairs.
06

Access And Application

Step 06 | Full-Height Interior Works

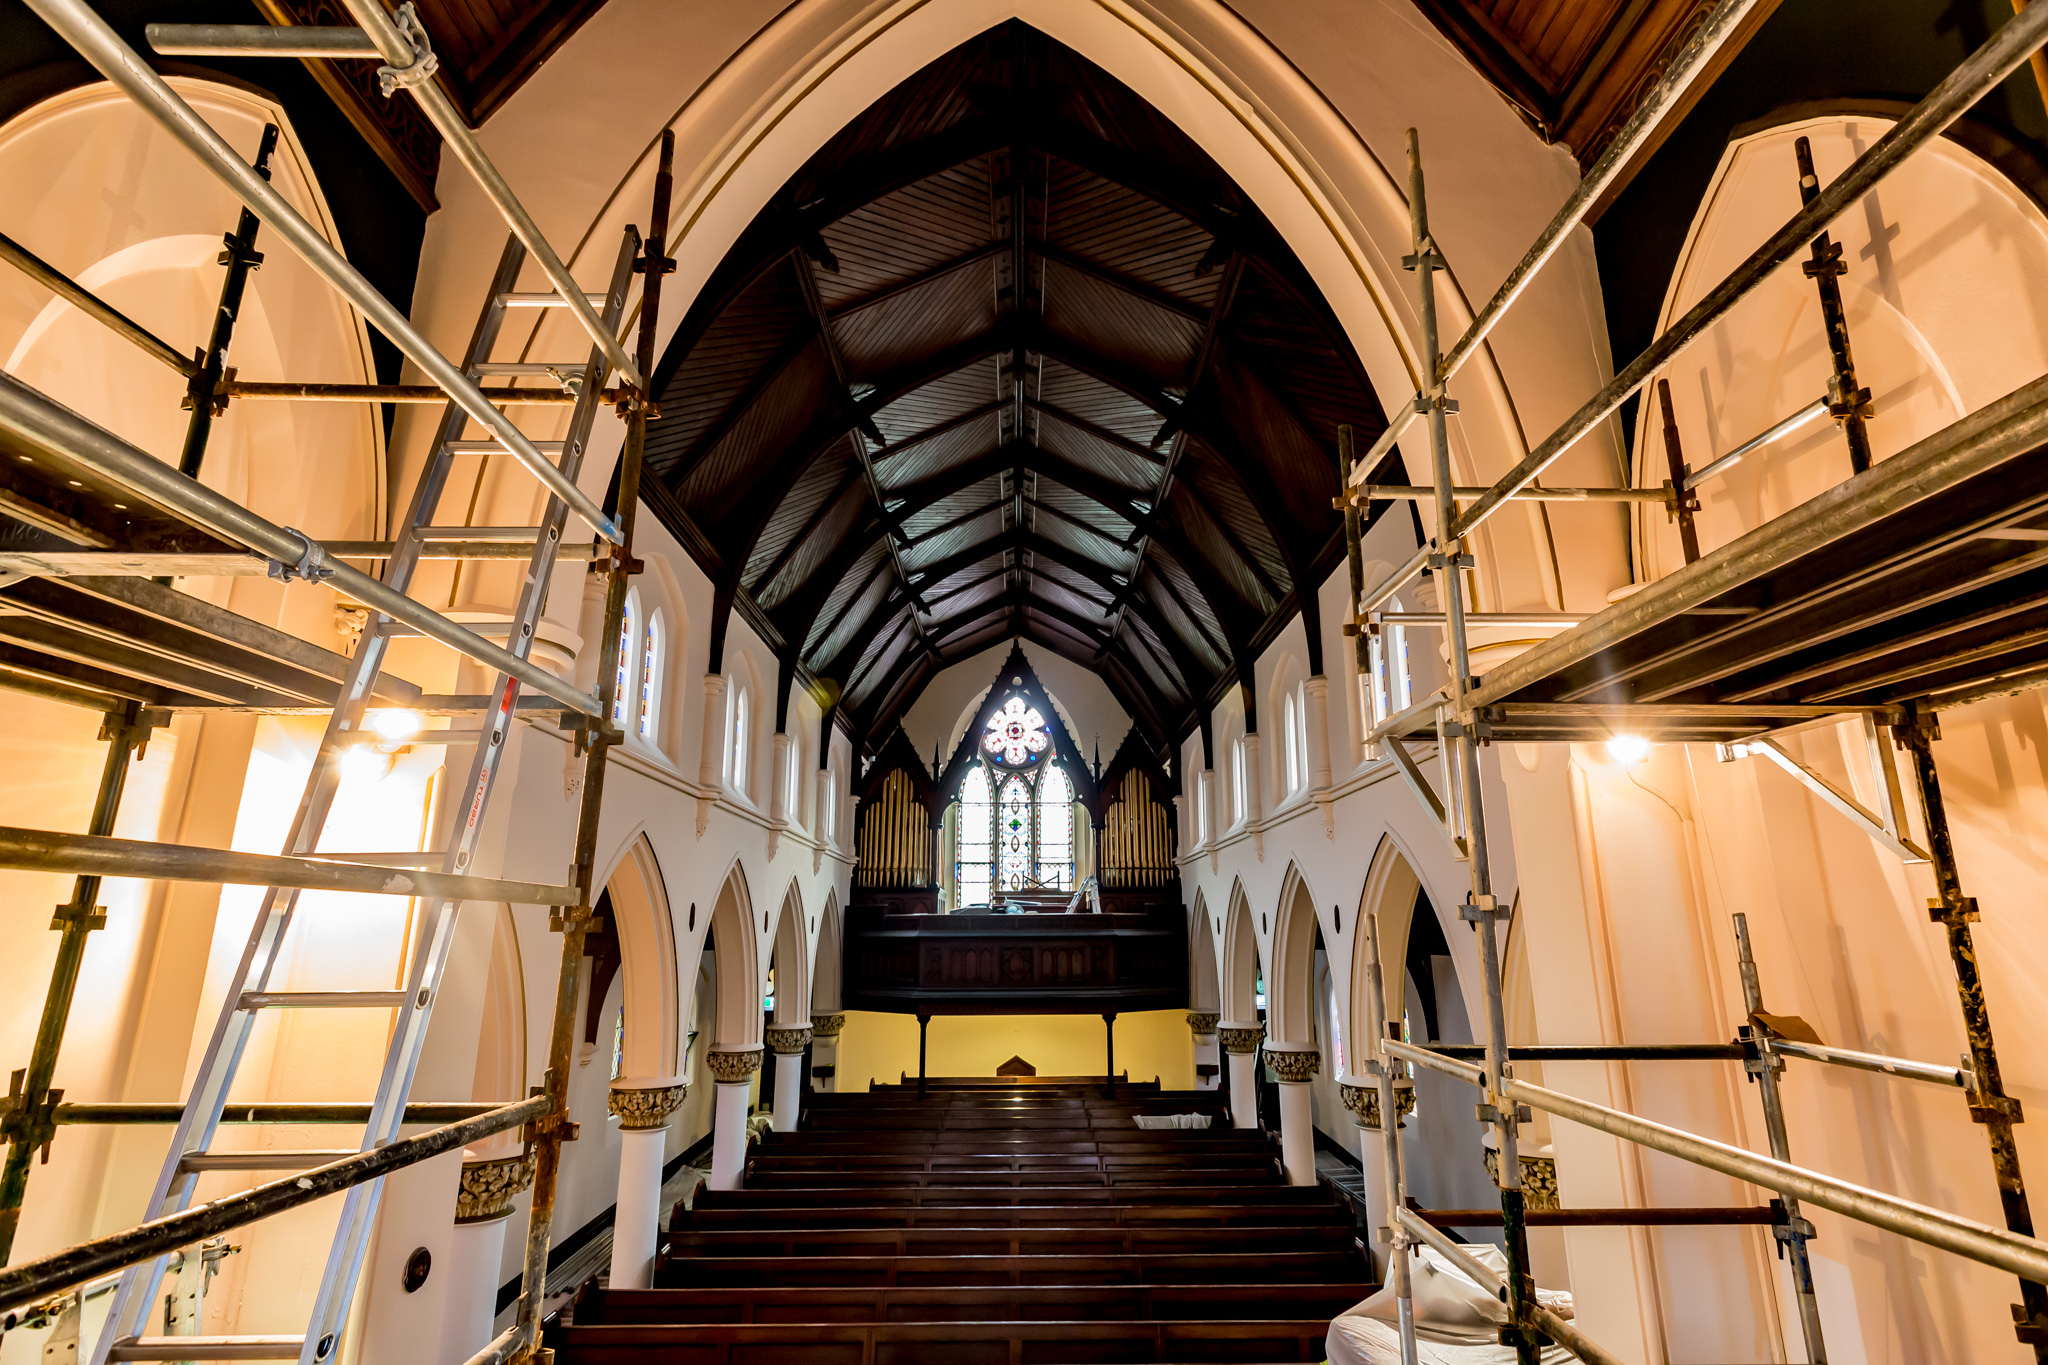
Scaffold access allowed the coating system to be applied through the full height of the nave. The finish was selected for breathability, reflectance and heritage compatibility.

Purpose: The mineral coating completed the repair while allowing the wall to continue drying after water ingress had been addressed.

  • Full-height access improved workmanship control.
  • Mineral finish supported vapour movement.
  • Reflective walls improved internal light response.
07

Completed Altar Room

Step 07 | Restored Interior Volume

The finished nave shows a cleaner, brighter and more consistent interior surface. The mineral system supports drying while improving the comfort of the occupied space.

Outcome: A breathable heritage finish with improved ambience and reduced musty odour.

  • Improved internal reflectance.
  • Cleaner visual presentation across high walls.
  • Interior comfort improved through warmer wall behaviour.
08

Finished Arches

Step 08 | Detail And Light

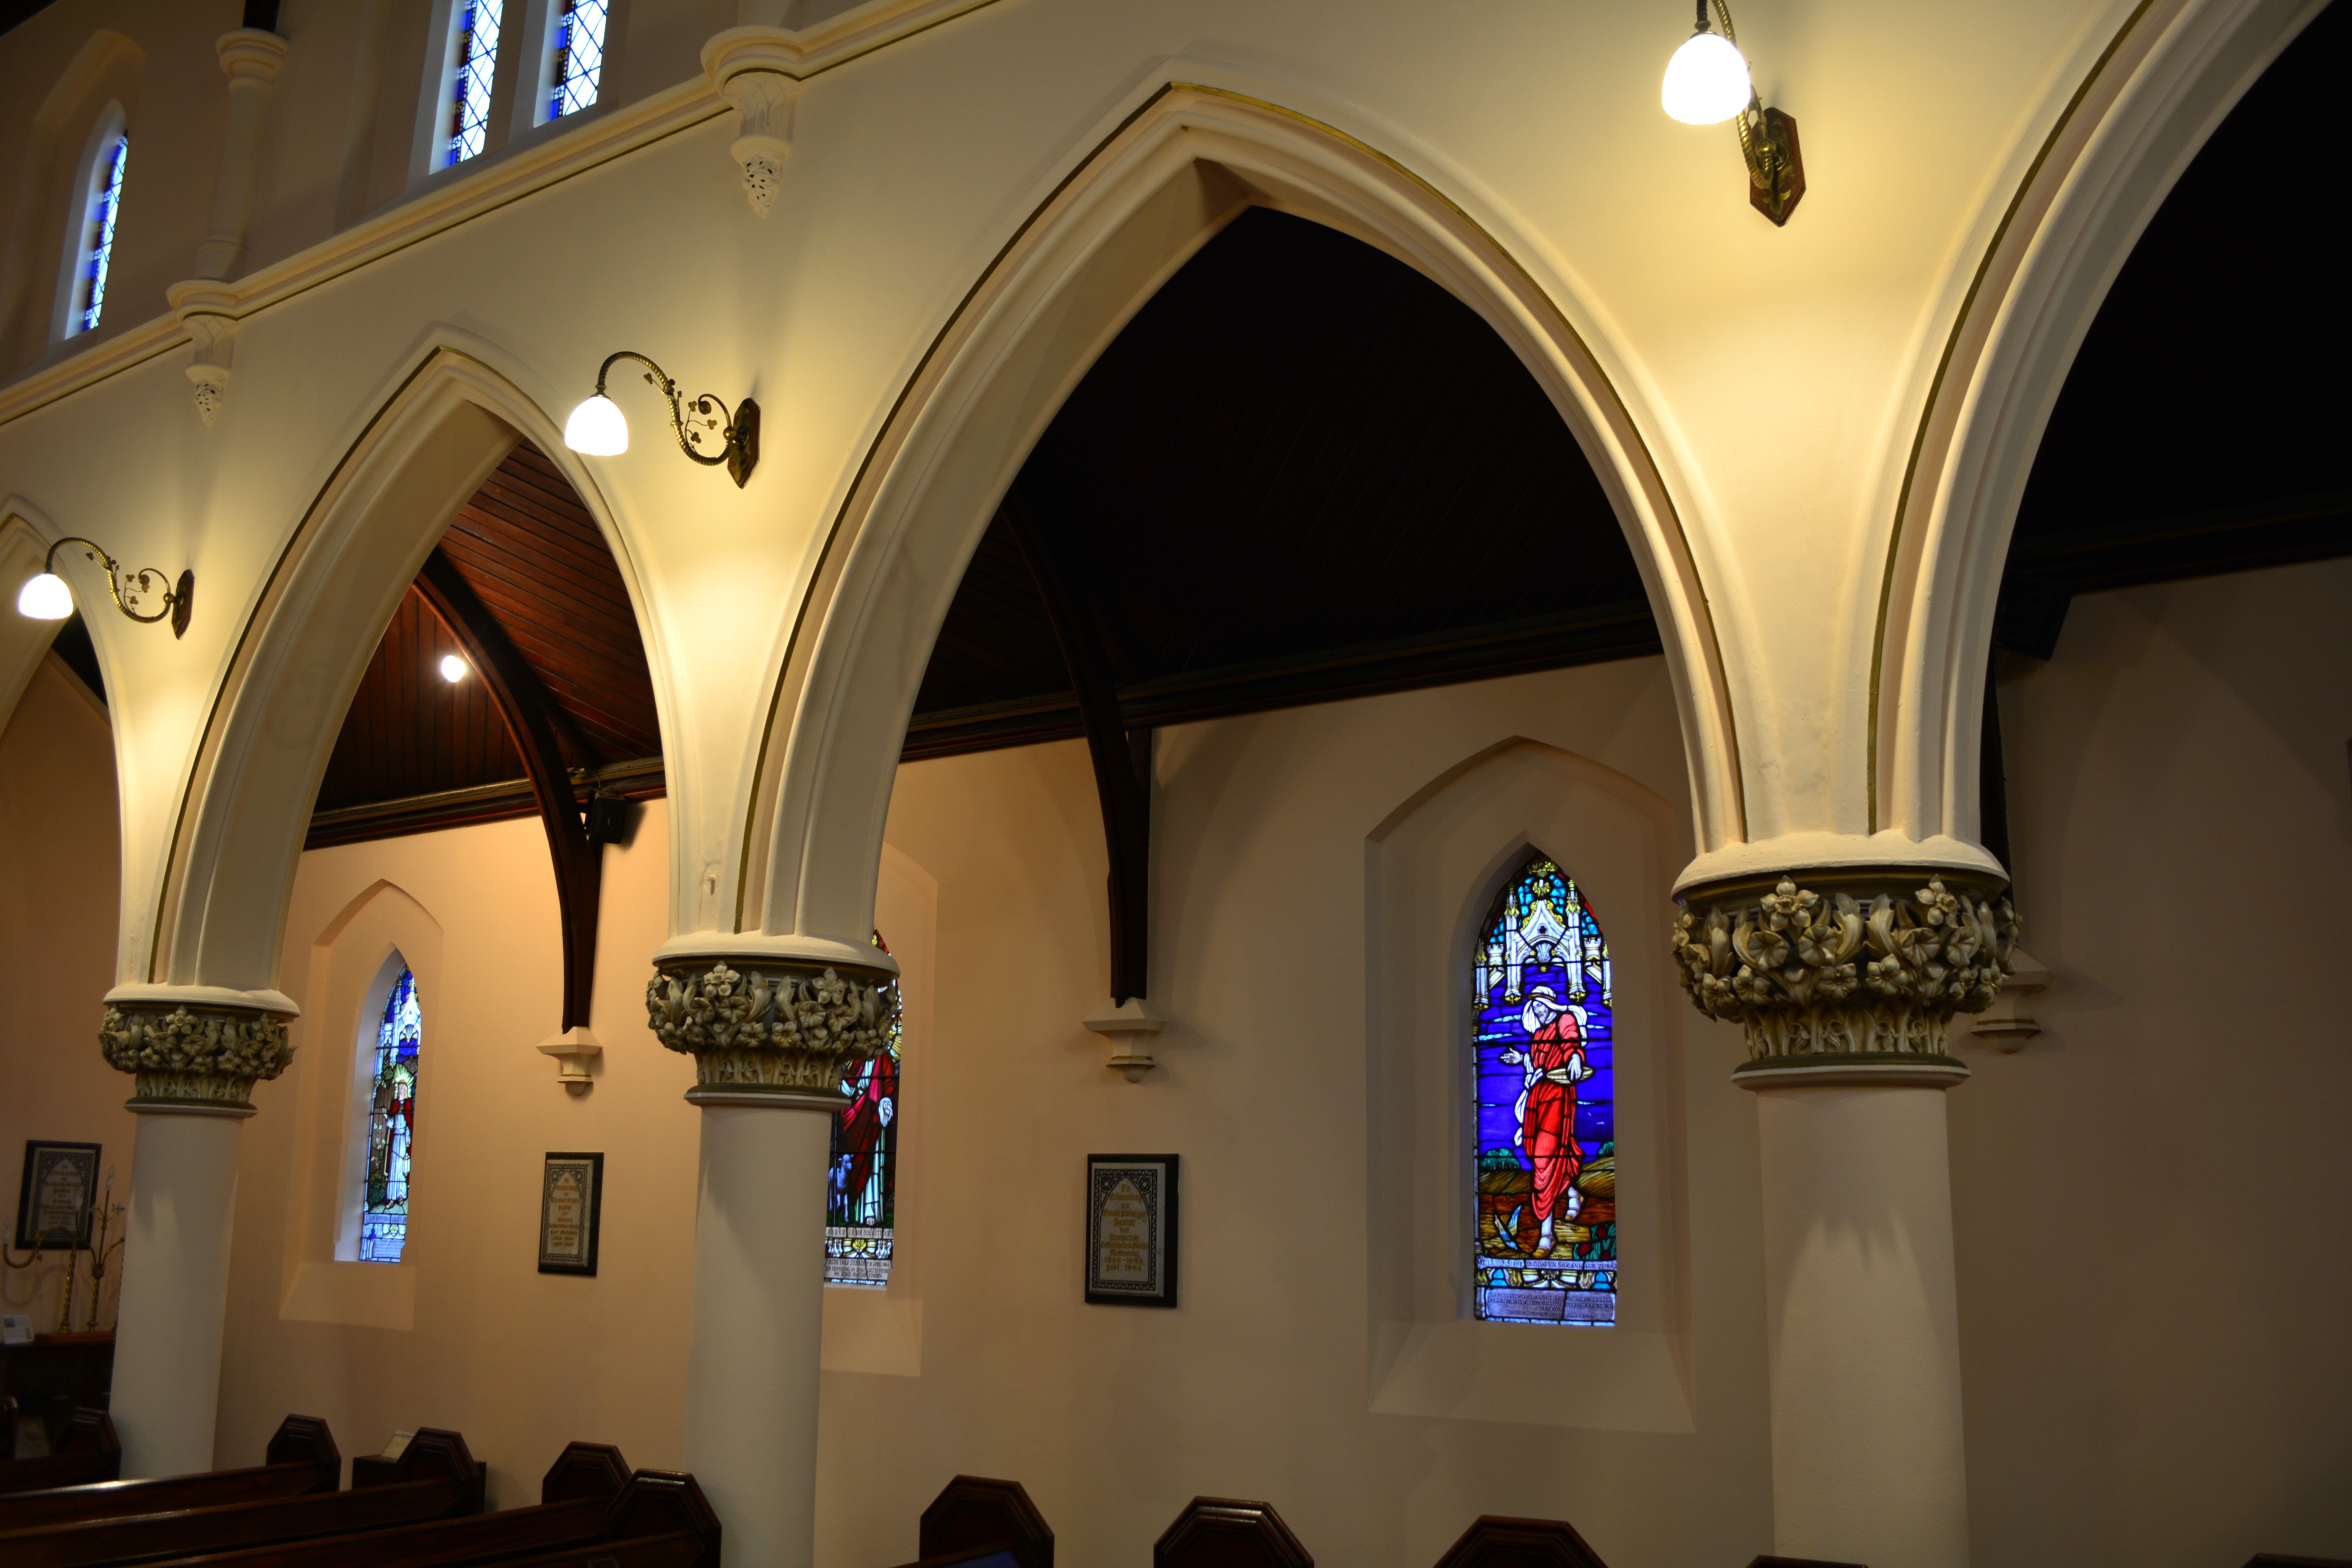
The restored arches demonstrate the finish around architectural detail and stained glass. The coating presents softly under warm interior lighting without masking the form of the building.

Outcome: Heritage detail remained legible while the wall surfaces became brighter and more coherent.

  • Architectural mouldings remained visually clear.
  • Lighting response improved across the wall plane.
  • Mineral finish suited sensitive interior use.
09

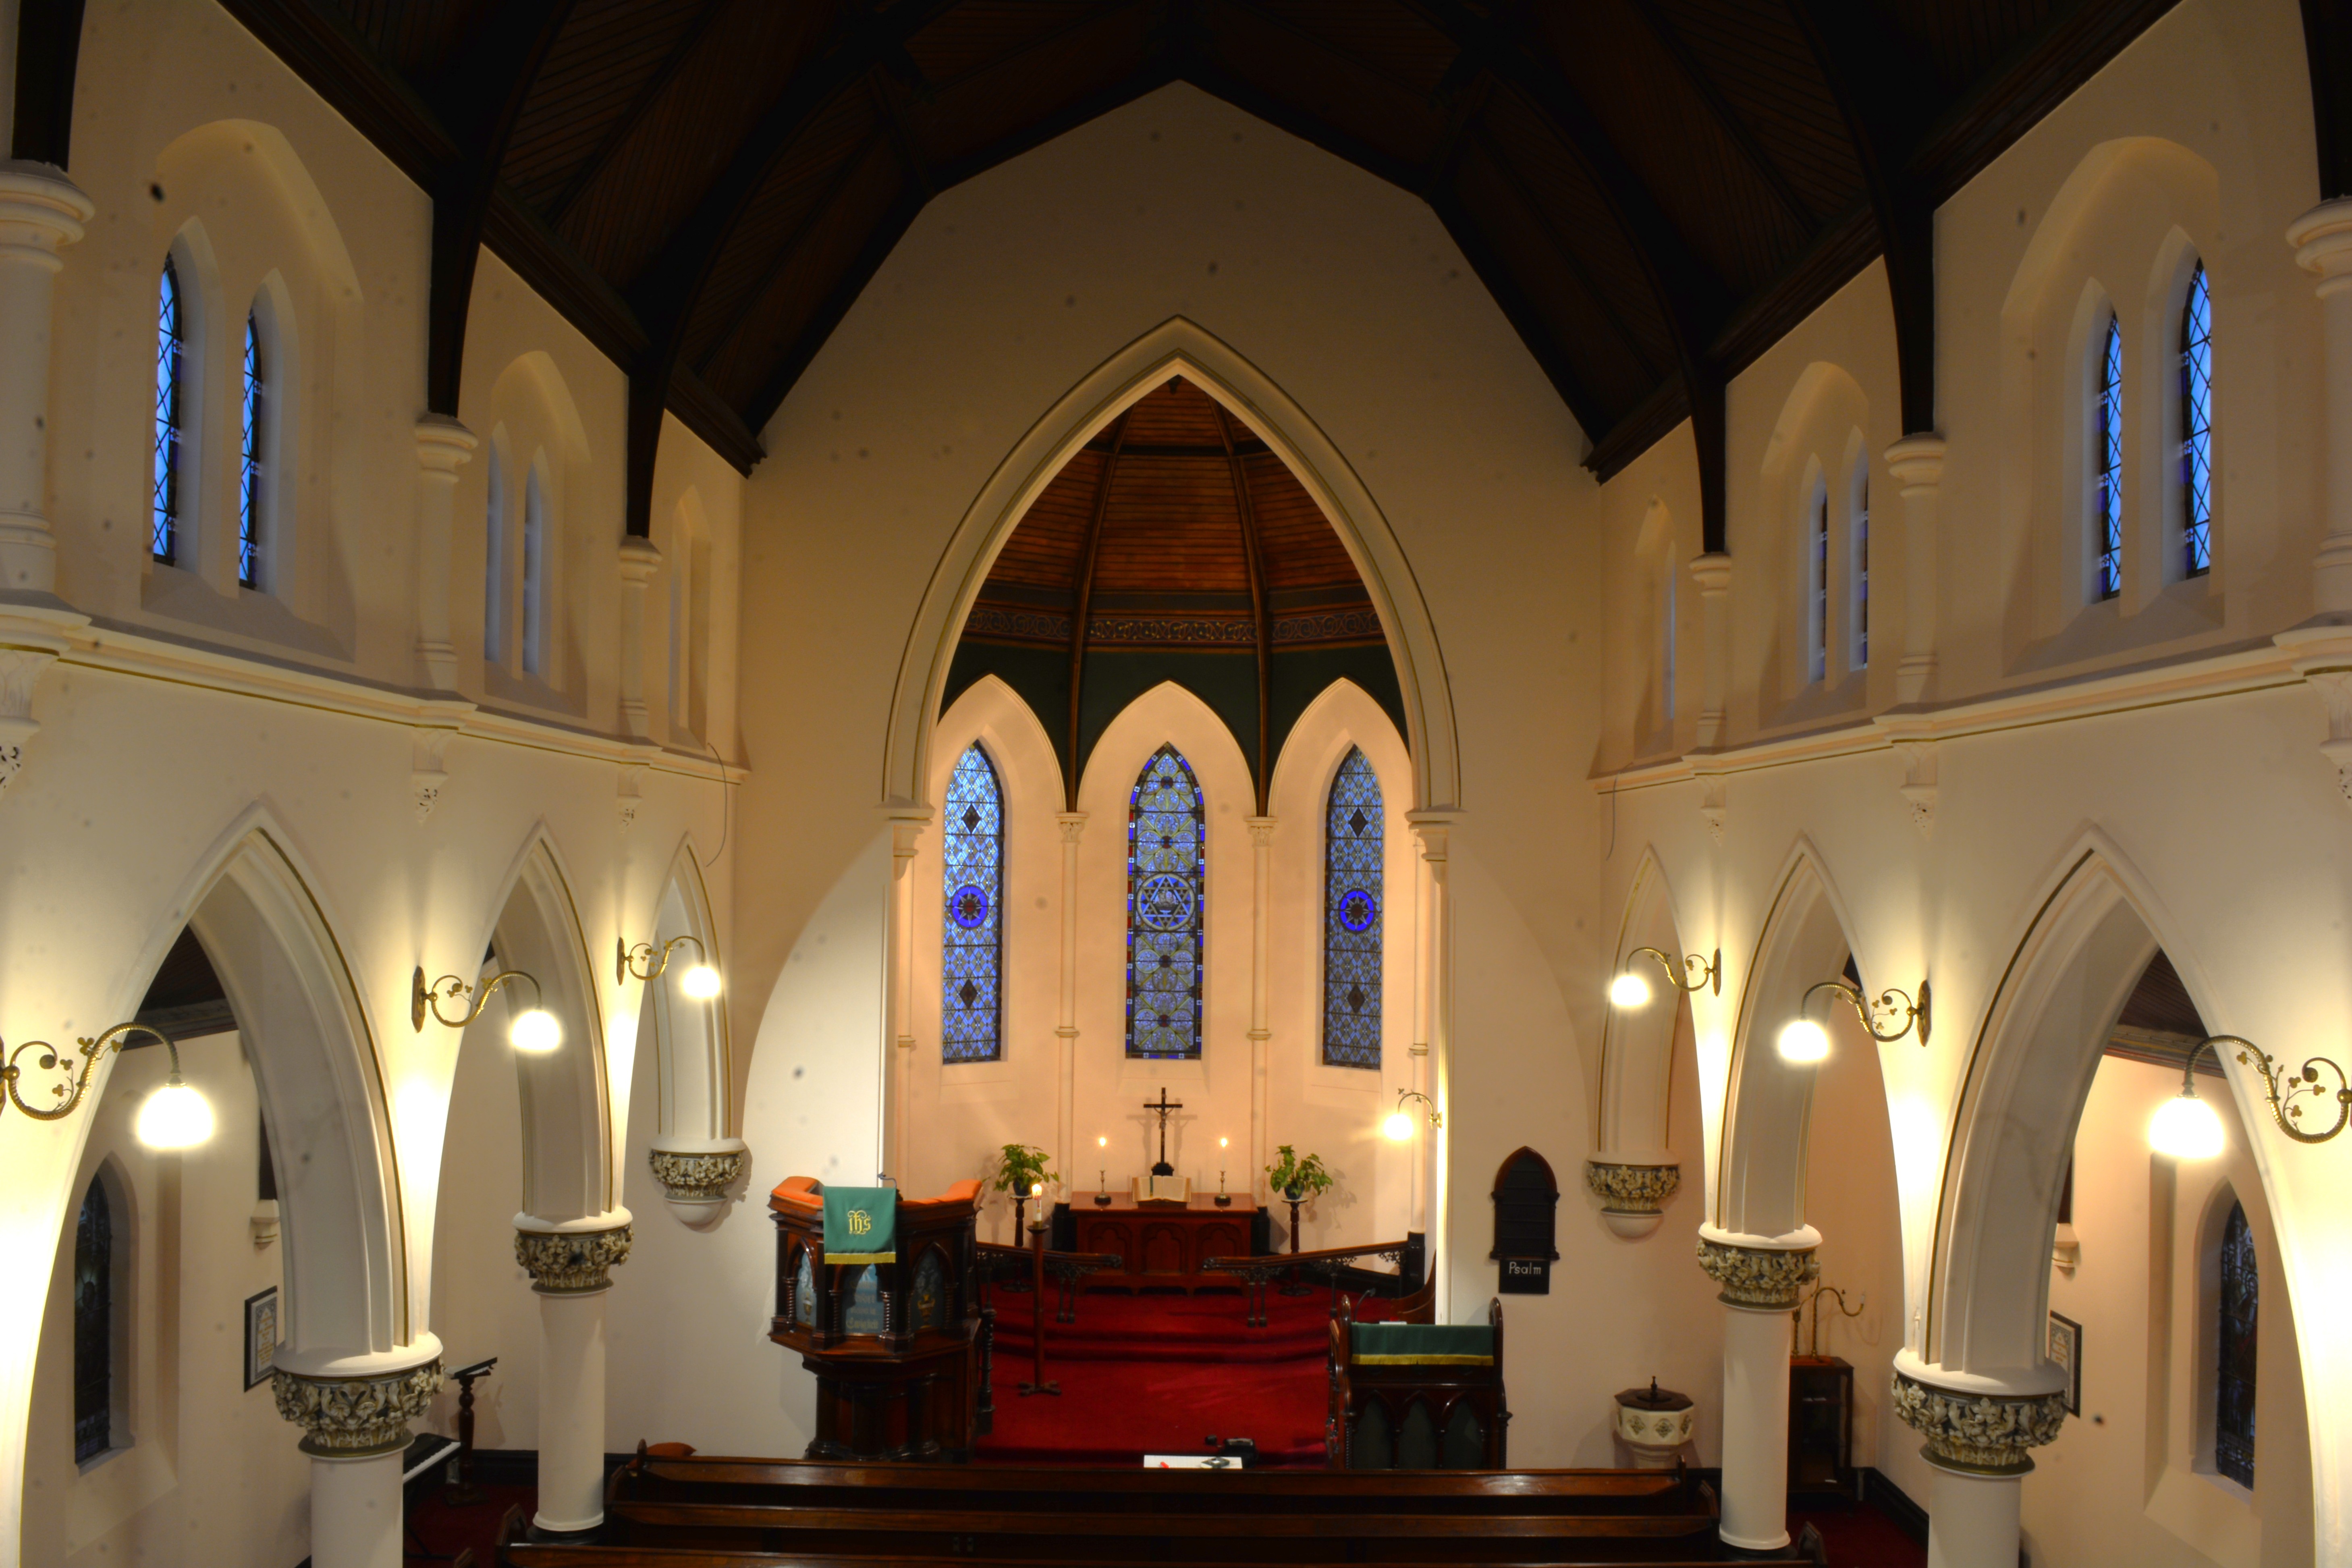
Completed Sanctuary with Organ Loft

Step 09 | Final Outcome

The completed sanctuary shows the project outcome: repaired walls, improved indoor air quality, reduced musty odour and a calmer interior atmosphere.

Outcome: OmniGuard Interior provided a breathable mineral coating system for a sensitive heritage environment.

  • Breathable coating for retained masonry and plaster.
  • Improved comfort, ambience and internal reflectance.
  • Heritage-compatible colour and finish.
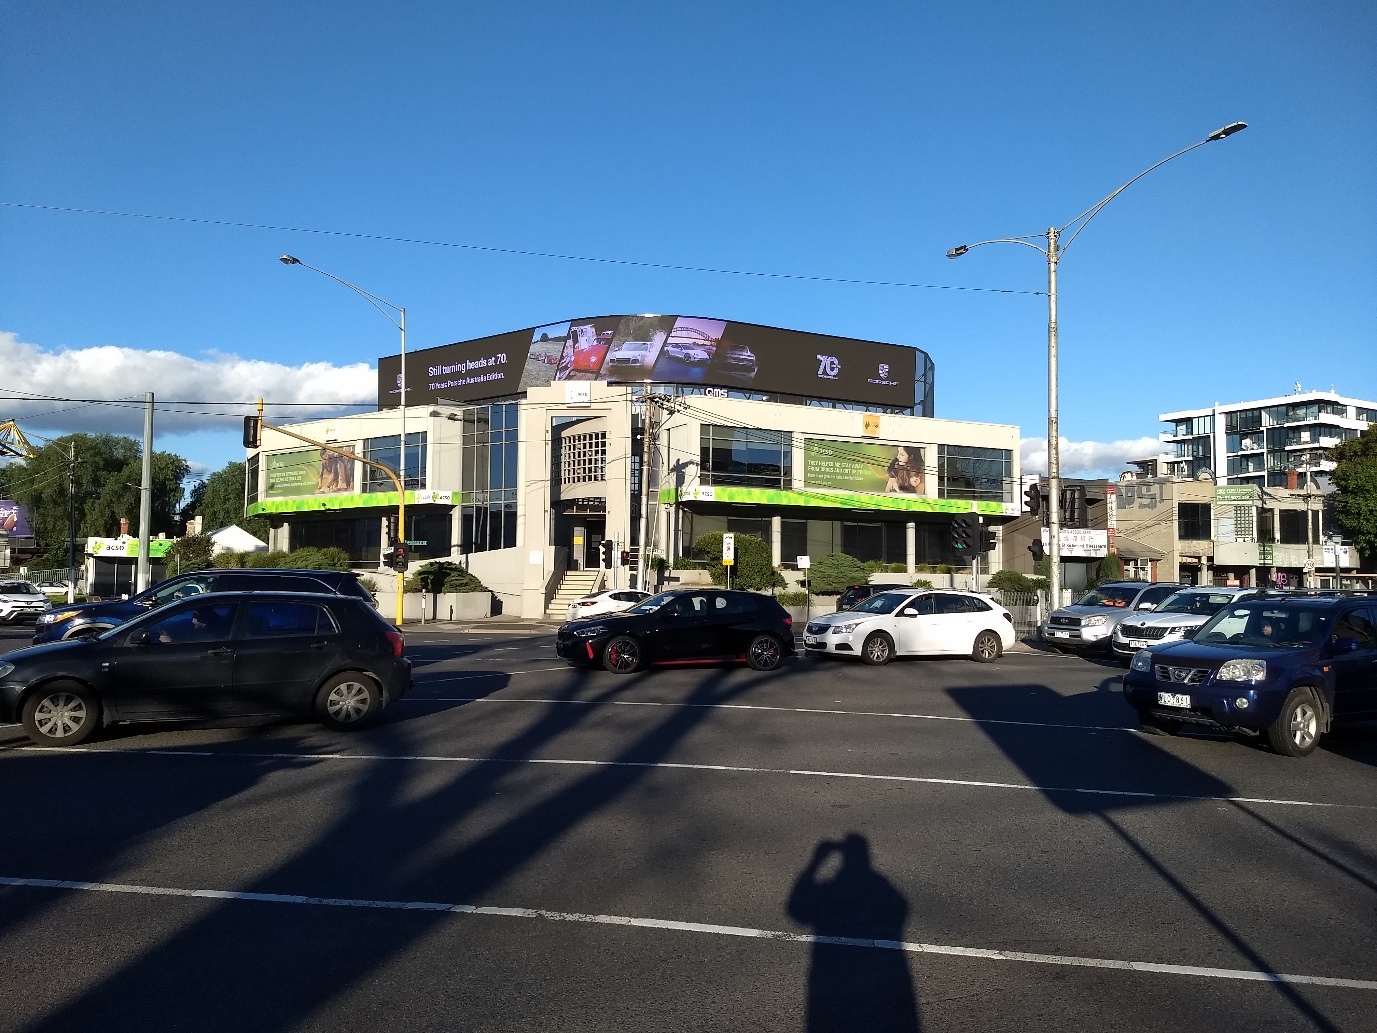
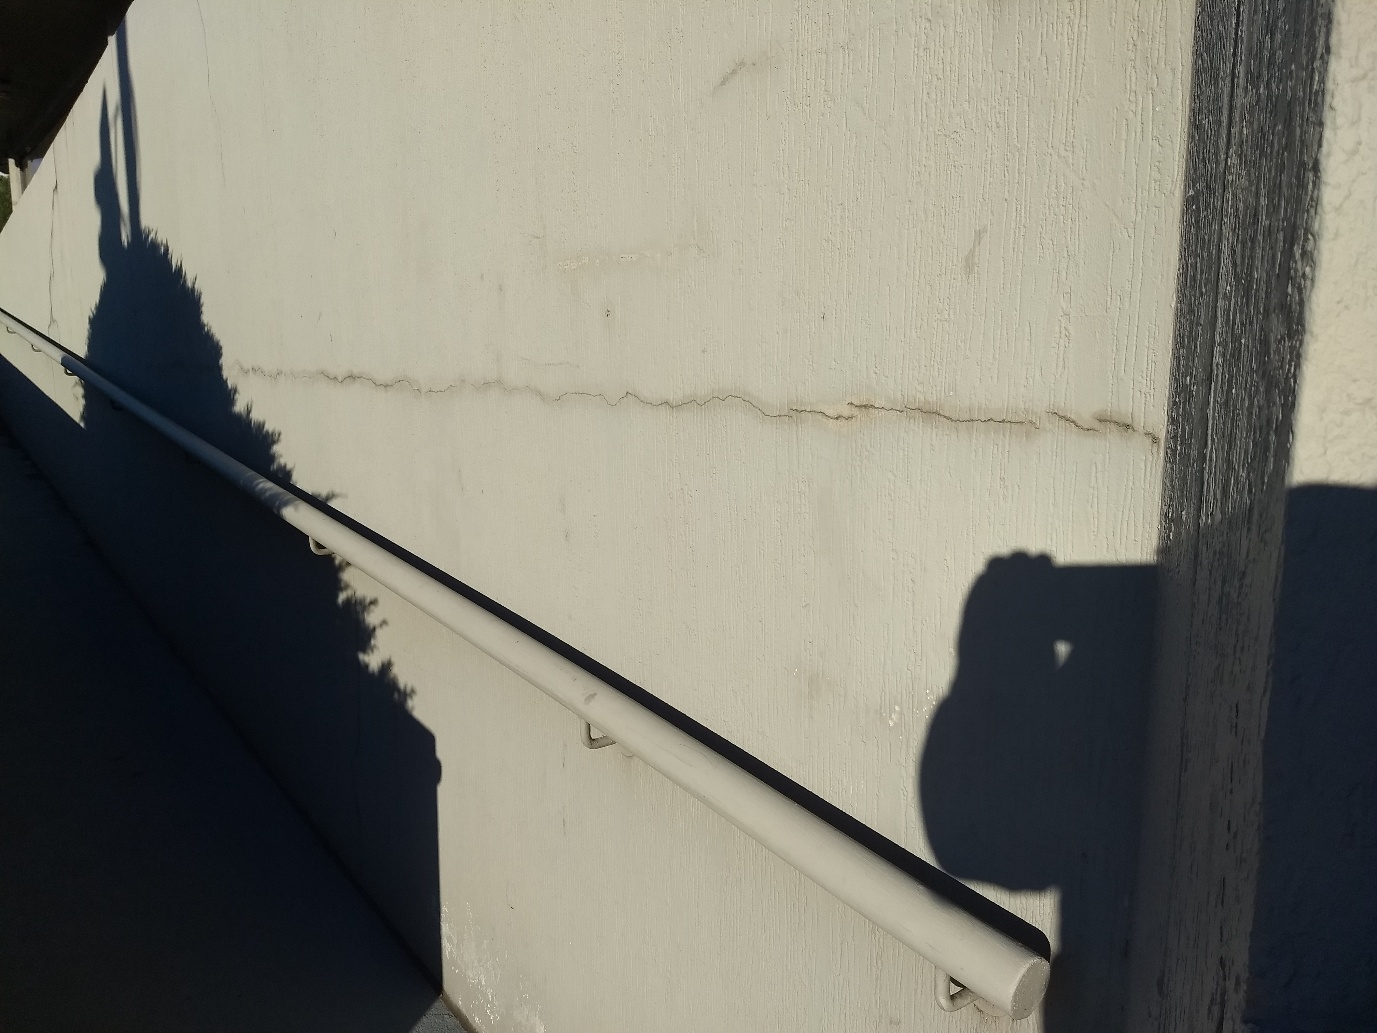
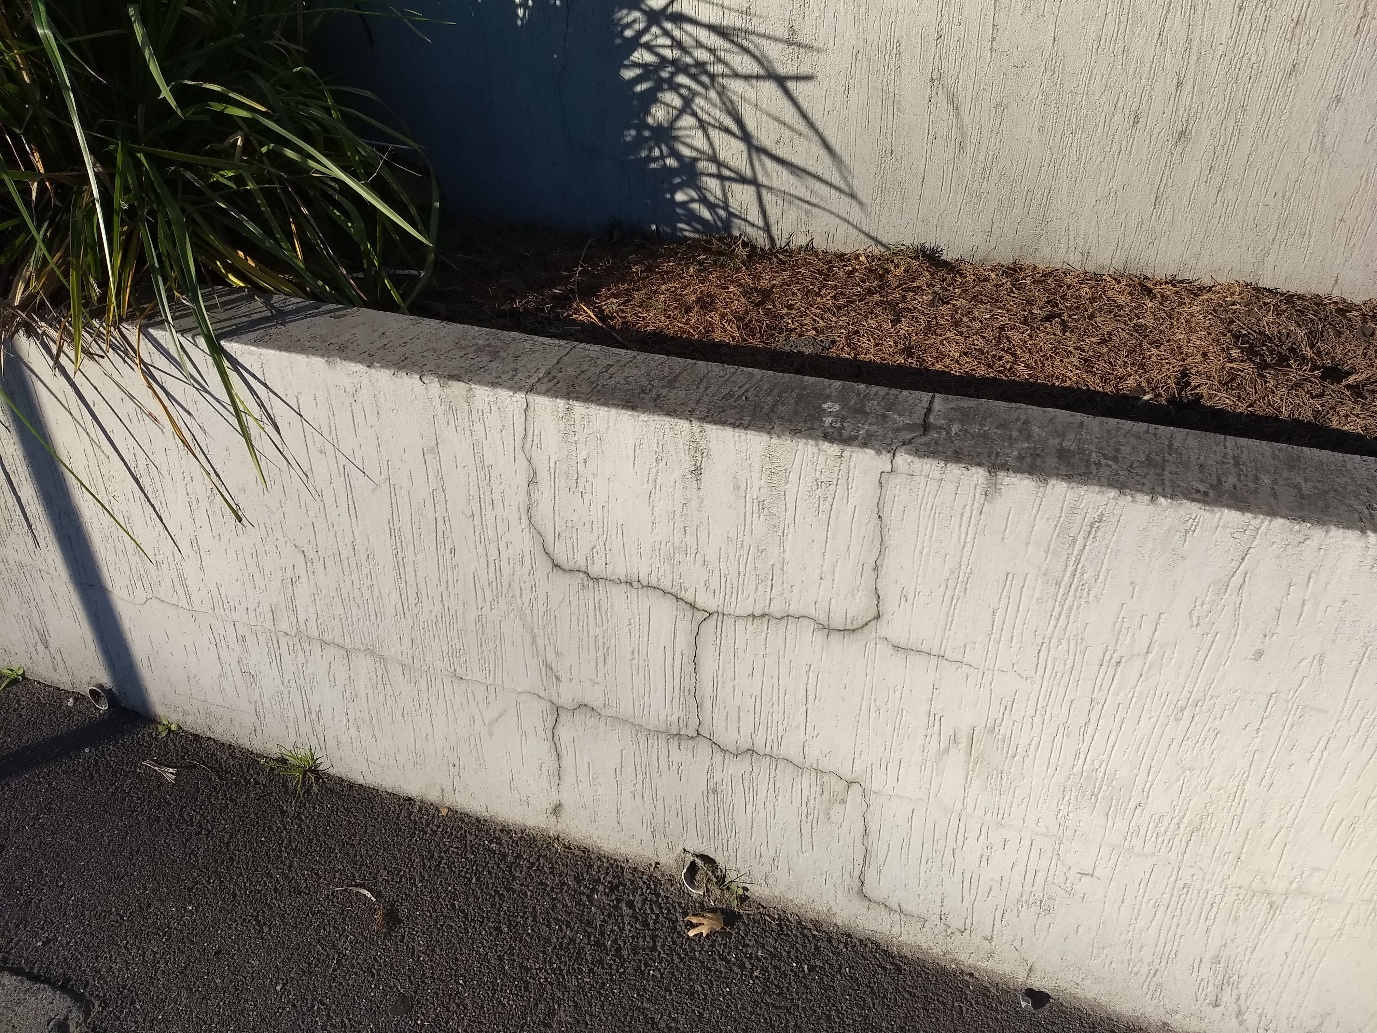
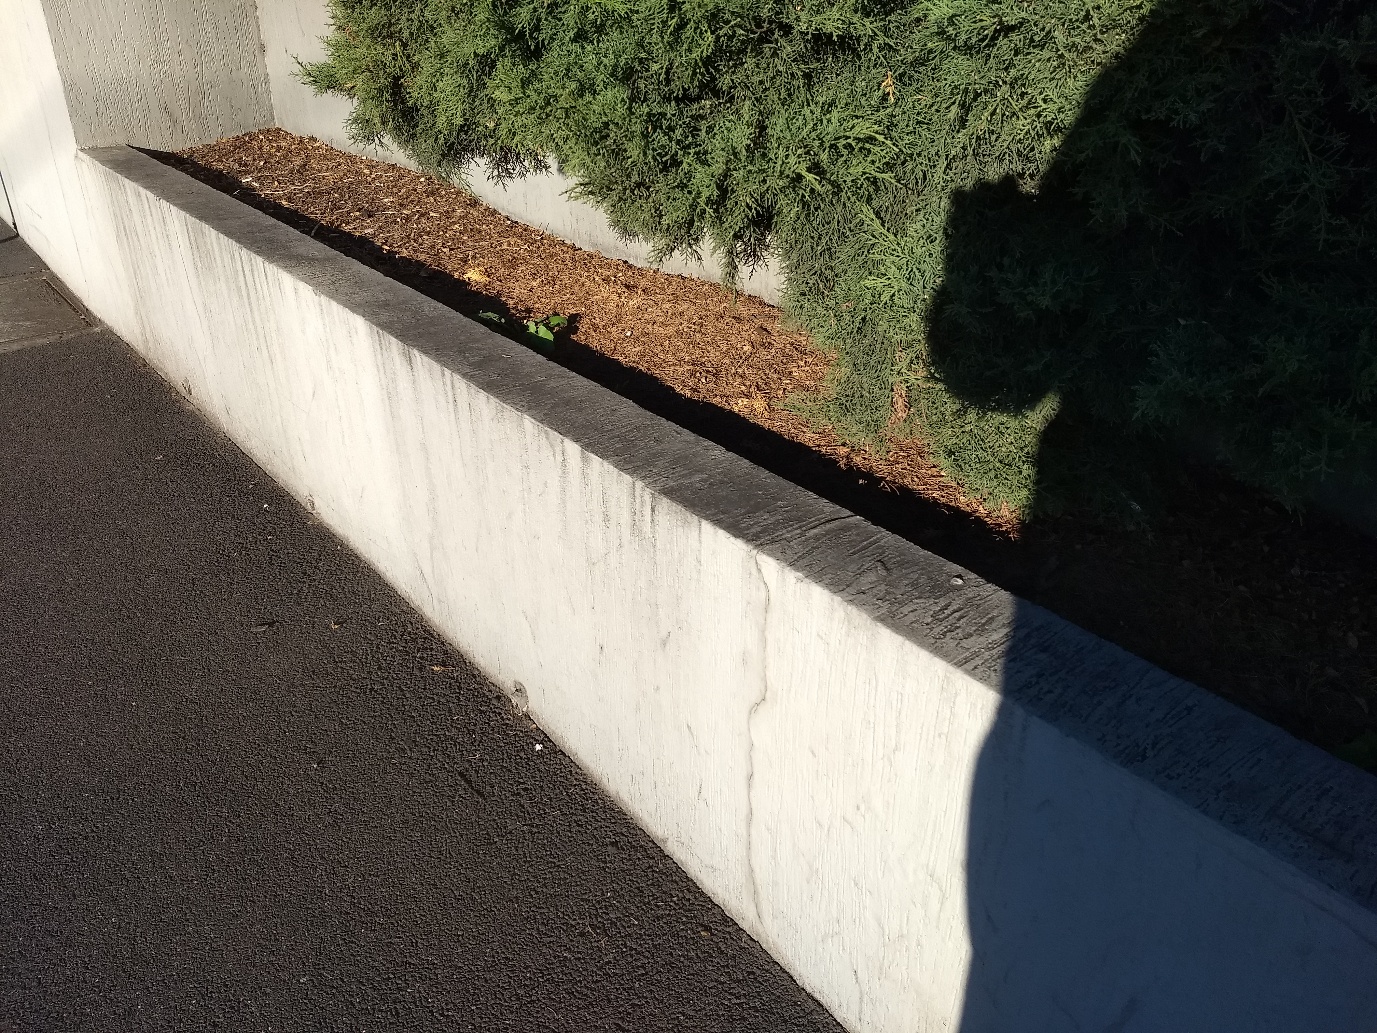
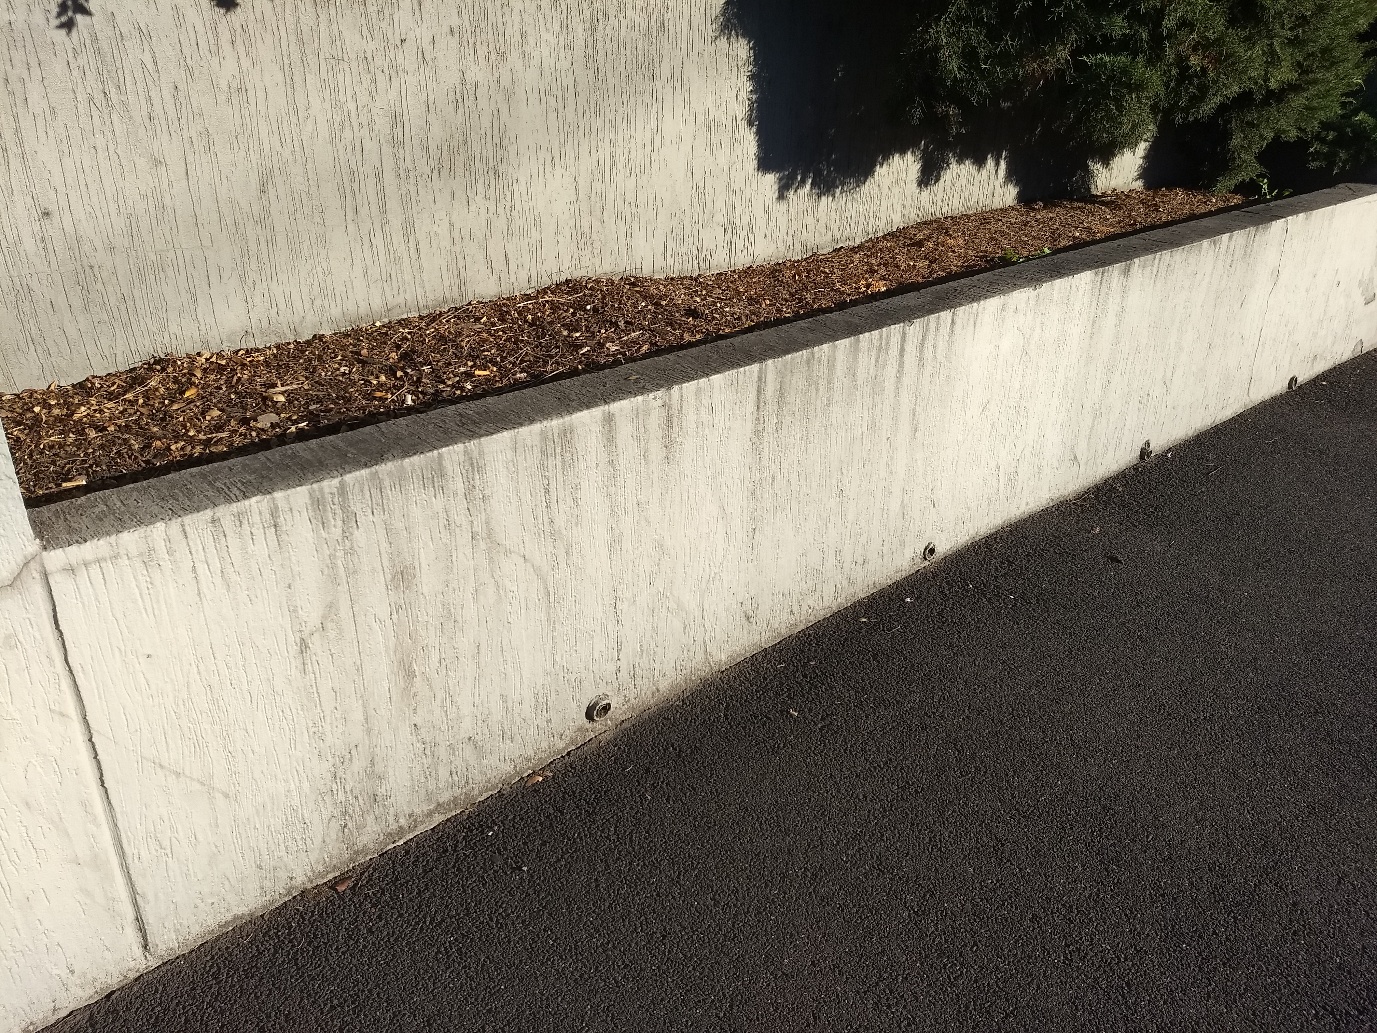
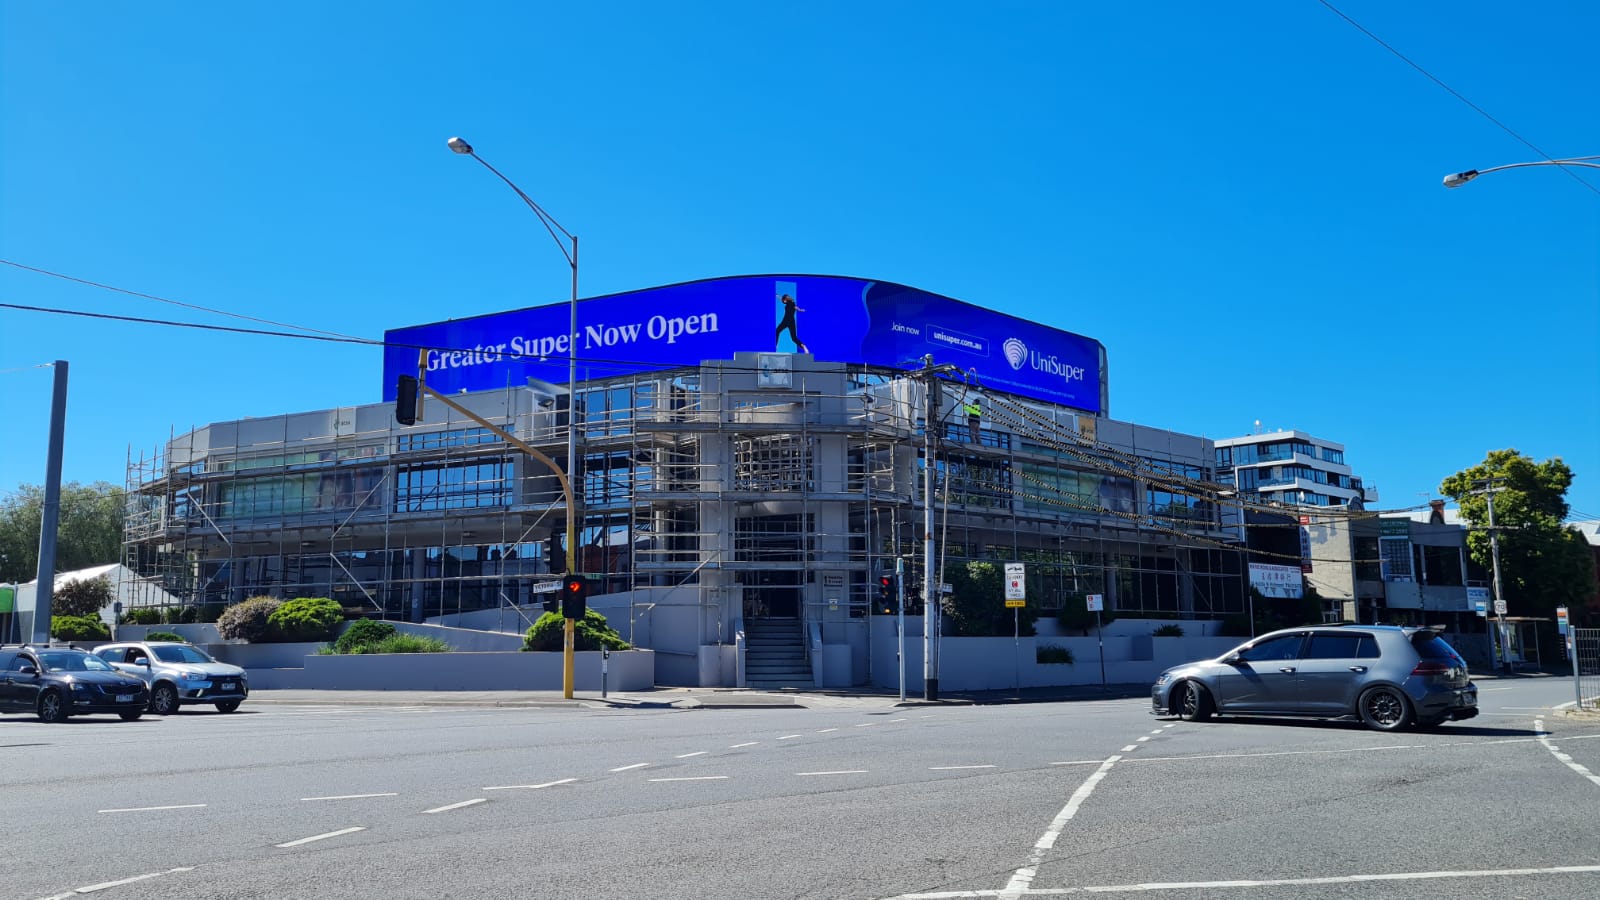
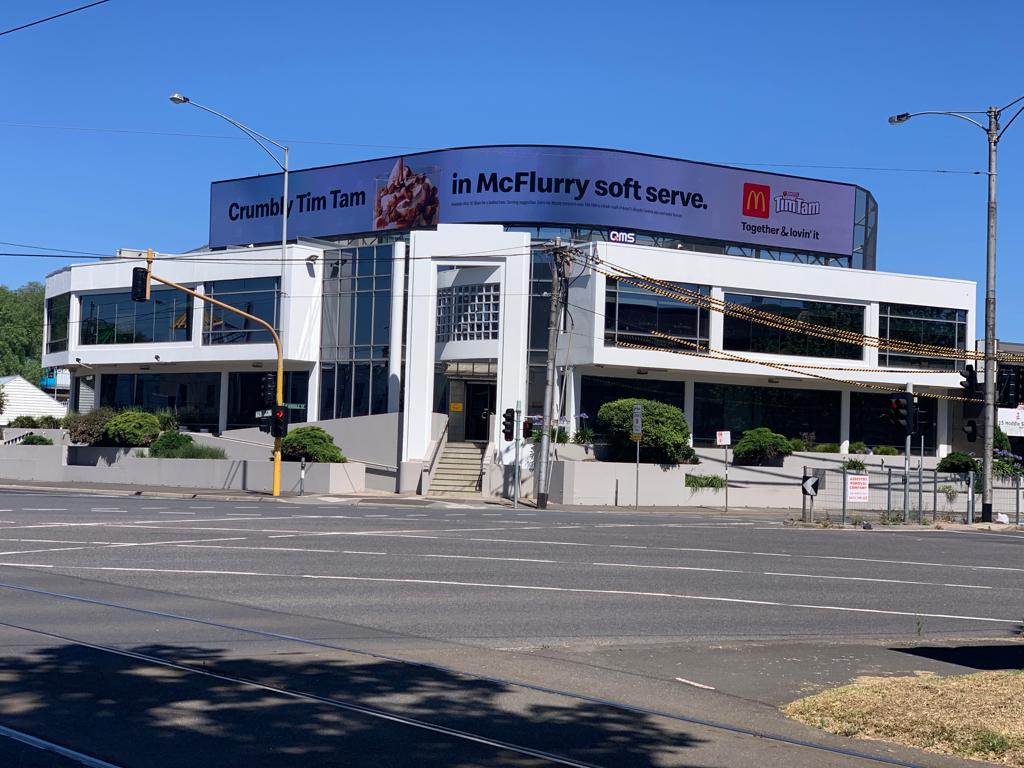
1 Hoddle Street before the OmniGuard project Cracks, staining and surface build-up on an exterior wall Tired exterior wall area before restoration Several grey coating colours tested on the exterior wall Grey colour samples compared against the wall finish Damaged roof section identified before coating Roof penetrations repaired before Rooflect application Exterior retaining wall with deposits and grime before cleaning Exterior retaining wall after cleaning and preparation Service area wall checked as part of the project Side wall prepared for a consistent finish OmniGuard Exterior being applied from a scissor lift 1 Hoddle Street after OmniGuard Exterior and Rooflect application Completed 1 Hoddle Street project in Melbourne Victoria
01

Where The Project Started

Step 01 | Existing Condition

The ageing building sat beside heavy traffic, with soot and road deposits building up across the exterior.

Challenge: Restore a tired commercial facade while improving protection across the walls and roof.

  • Traffic-related soot affected the presentation.
  • Walls and roof required separate coating systems.
  • Preparation needed to address the real condition first.
02

Cracks And Build-Up

Step 02 | Condition Survey

Cracks, staining and surface build-up showed where the exterior needed repair and cleaning before coating.

Purpose: The condition survey separated repair work from routine surface preparation.

  • Cracks were identified before application.
  • Staining and deposits were mapped.
  • Unsound areas were not simply coated over.
03

Tired Areas Assessed

Step 03 | Wider Inspection

Less obvious wall areas were included in the inspection because they affected the consistency of the final result.

Finding: The project needed one coherent finish rather than isolated cosmetic touch-ups.

  • Ageing surfaces were checked throughout.
  • Preparation boundaries followed the building.
  • The final coating scope remained consistent.
04

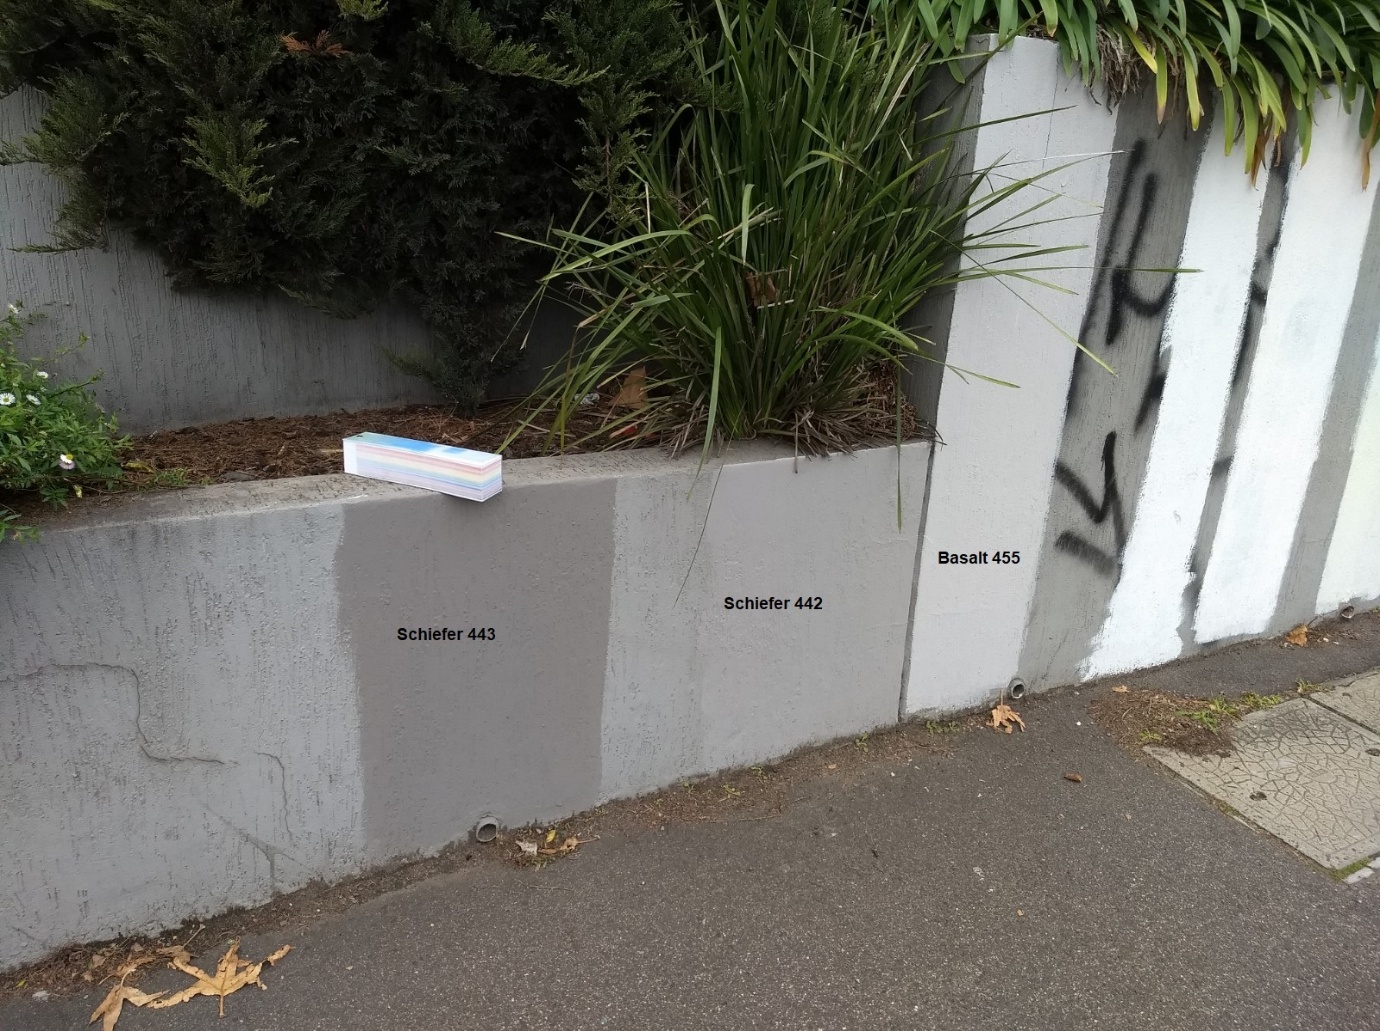
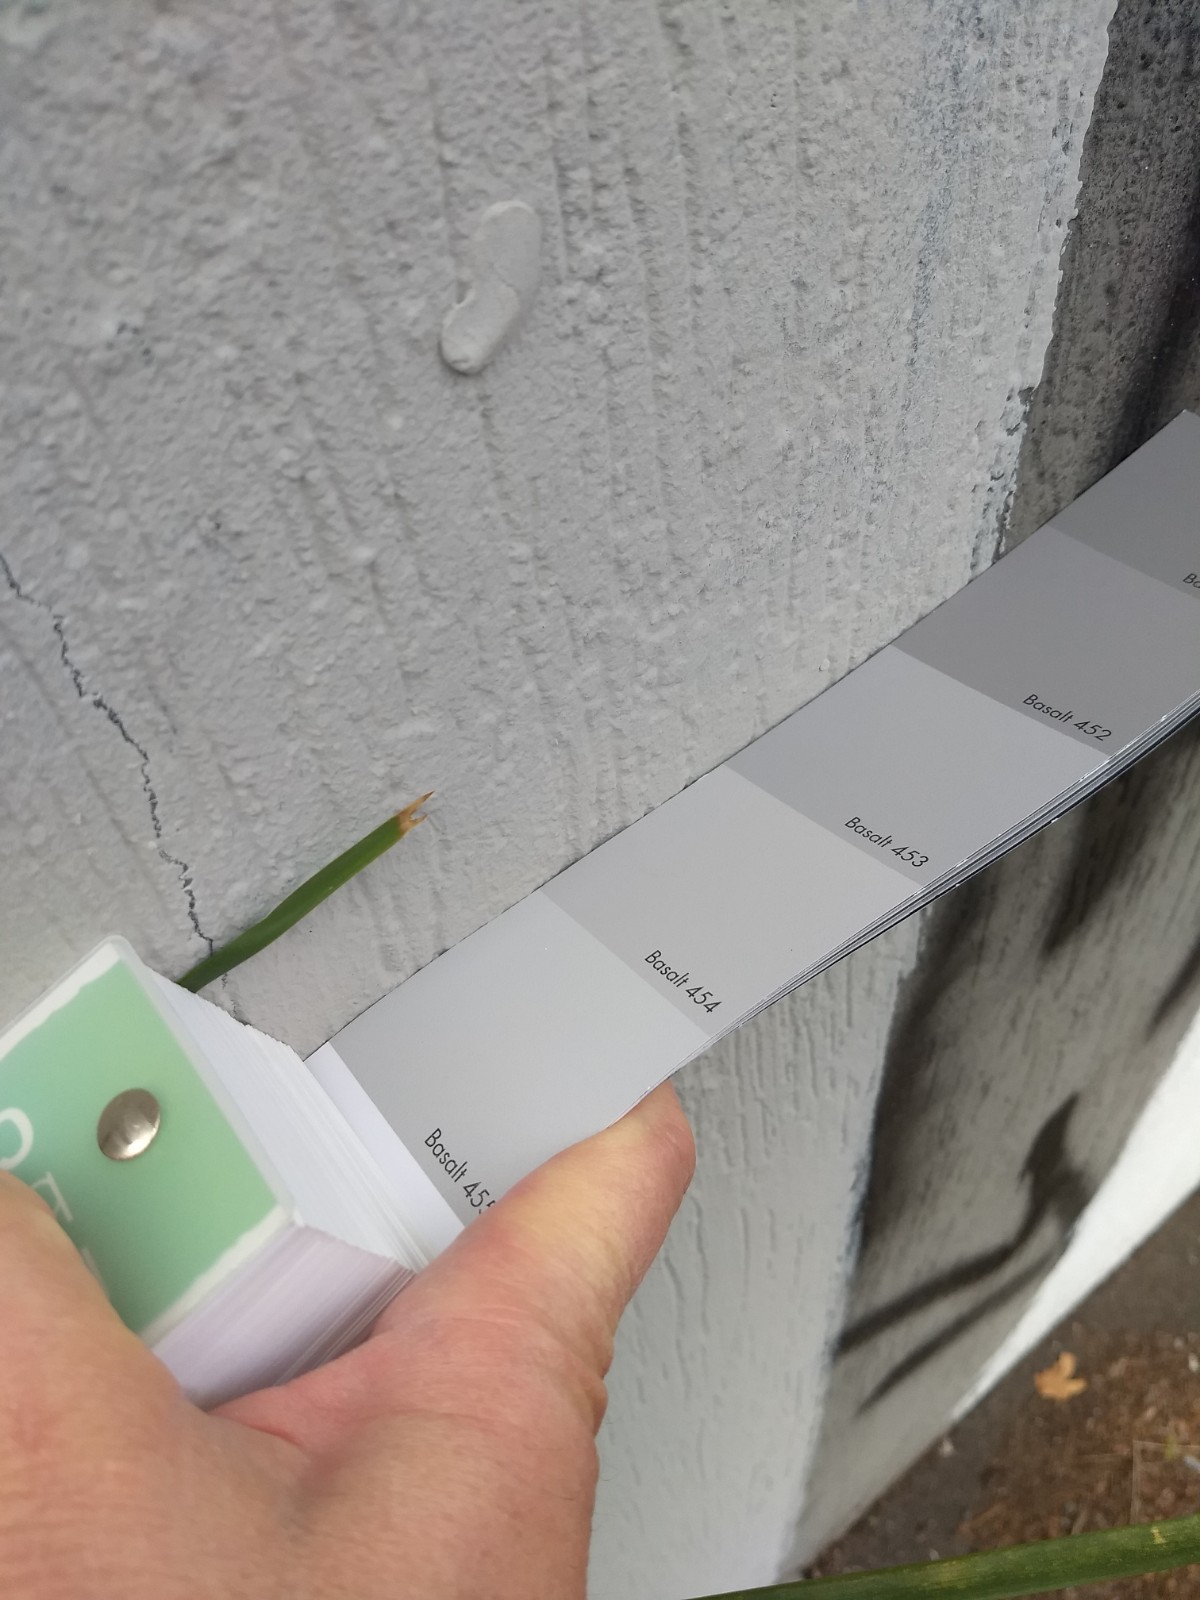
Greys Tested On The Wall

Step 04 | Colour Selection

Several grey samples were applied to the wall and compared with the existing finish in the site light.

Brief: The owner wanted a fresh result that would not look too bright or harsh.

  • Multiple greys were tested in place.
  • Samples were read against the old finish.
  • Daylight response informed the selection.
05

Quarzit 9080 Selected

Step 05 | Final Colour

Quarzit 9080 was selected to deliver a light grey finish with a restrained, commercial character.

Outcome: The chosen colour refreshed the building without making the facade appear stark.

  • Light grey balanced freshness and restraint.
  • The choice responded to the existing architecture.
  • On-wall testing reduced colour uncertainty.
06

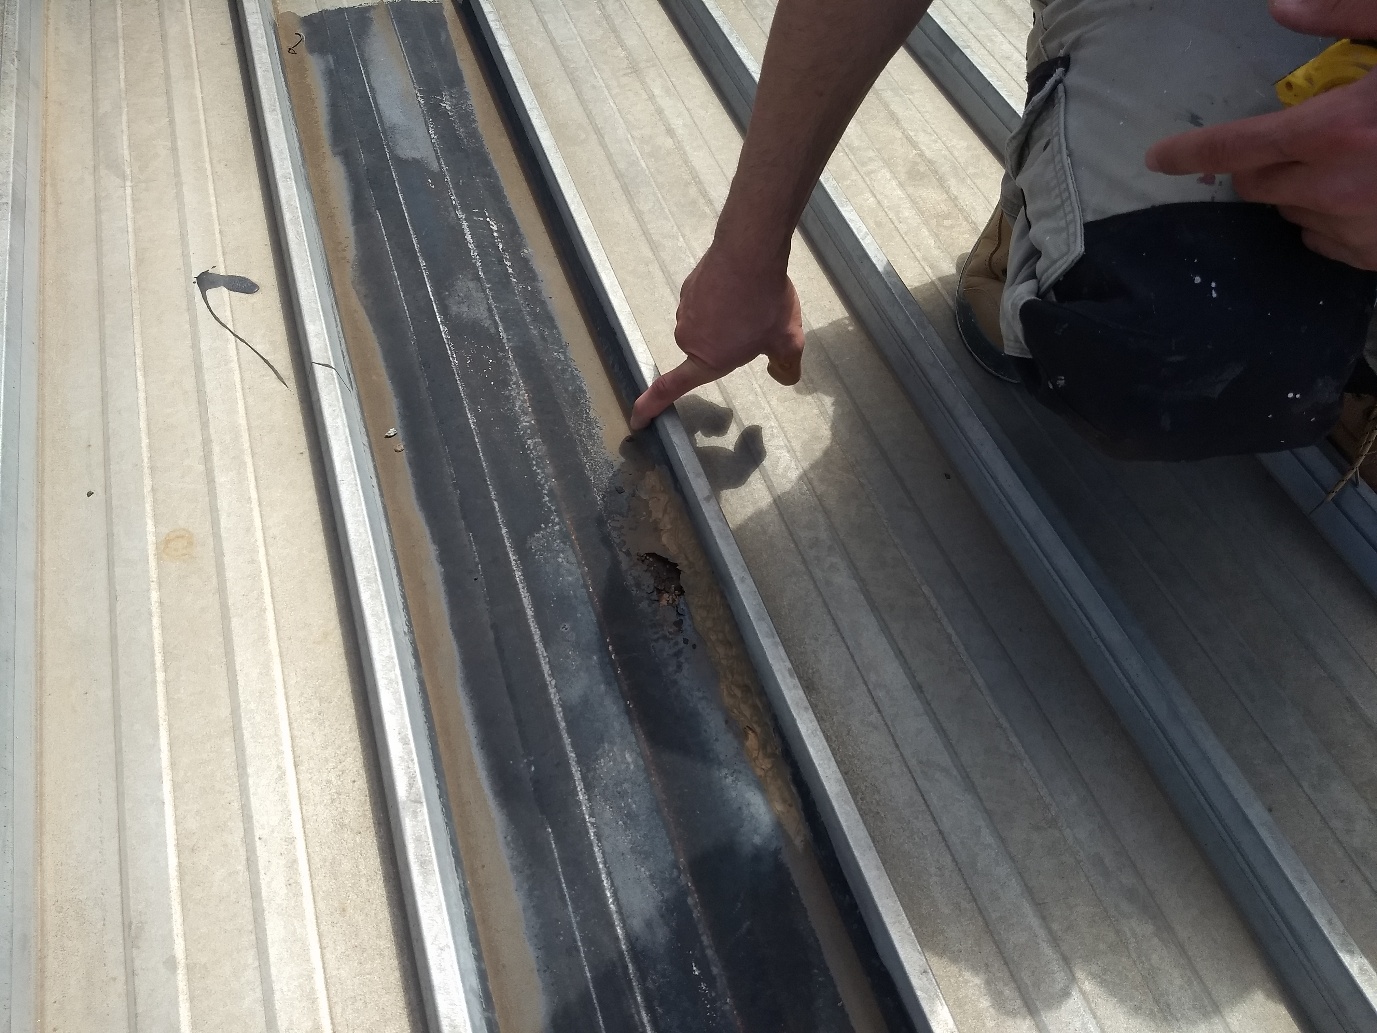
Roof Damage Repaired

Step 06 | Roof Preparation

Damaged roof areas were identified and repaired before any Rooflect coating was applied.

Purpose: Rooflect was applied to a repaired substrate, not used to conceal existing defects.

  • Damaged sections were opened and assessed.
  • Repairs preceded the coating work.
  • The roof area was approximately 800 m2.
07

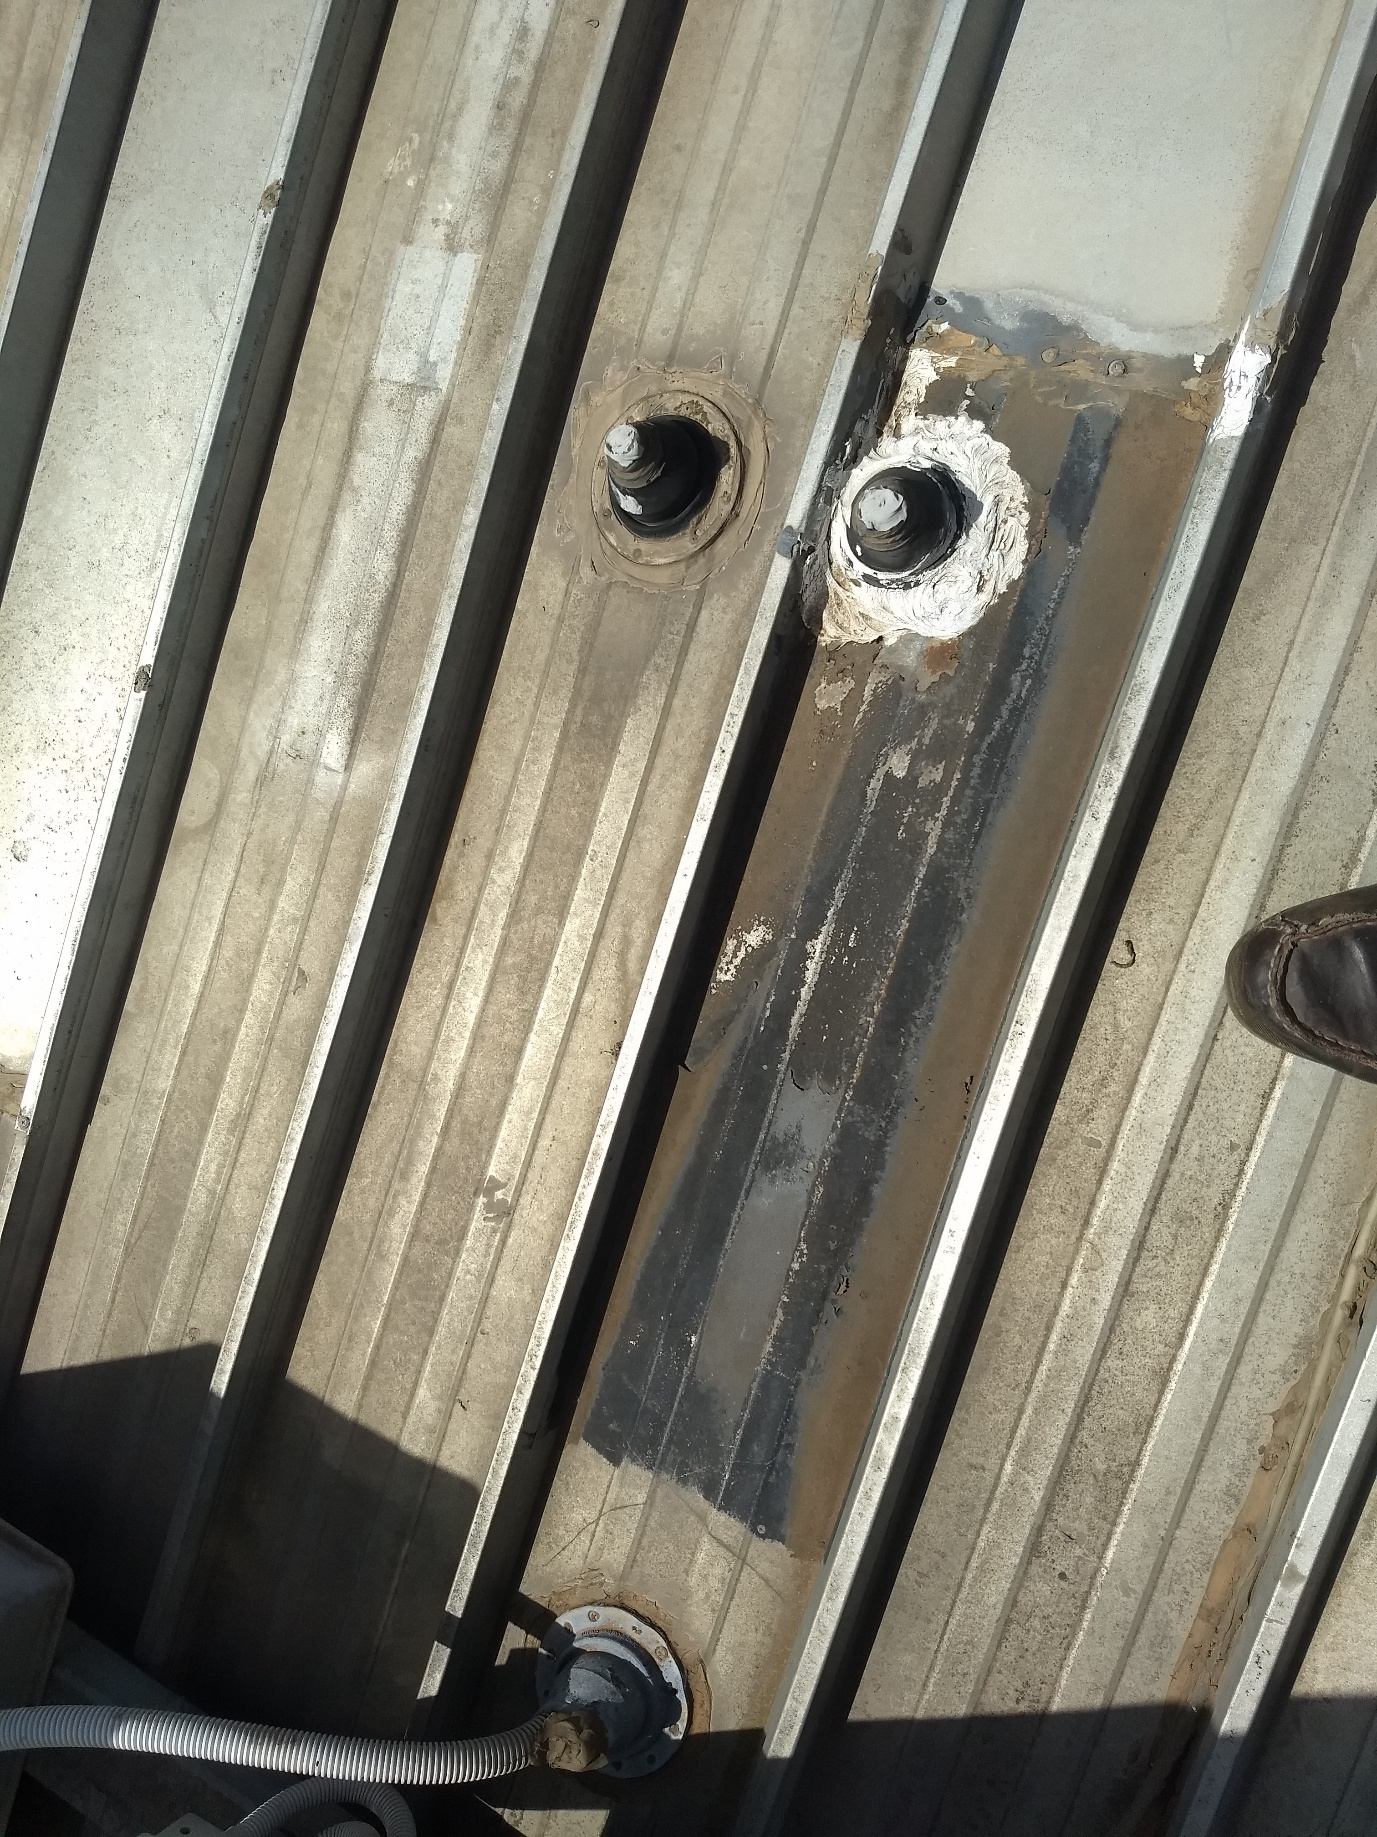
Penetrations Addressed

Step 07 | Roof Detailing

Details around roof penetrations were repaired so vulnerable junctions were ready for the coating system.

Purpose: Careful detailing created a sound base across the full roof profile.

  • Penetration edges were checked individually.
  • Local repairs closed damaged areas.
  • The roof was prepared before Rooflect application.
08

Exterior Walls Cleaned

Step 08 | Deposit Removal

Deposits and grime were removed from the exterior walls before coating began.

Purpose: Cleaning returned the surface to a more reliable base for the mineral coating.

  • Traffic grime was removed.
  • Accumulated surface deposits were cleared.
  • Dirty walls were not coated over.
09

A Cleaner Base

Step 09 | Prepared Surface

After cleaning, the wall presented a more even and dependable surface for the exterior system.

Result: Preparation improved coating contact and helped the finish remain consistent.

  • Surface contamination was visibly reduced.
  • The wall texture remained clear.
  • Application followed completed preparation.
10

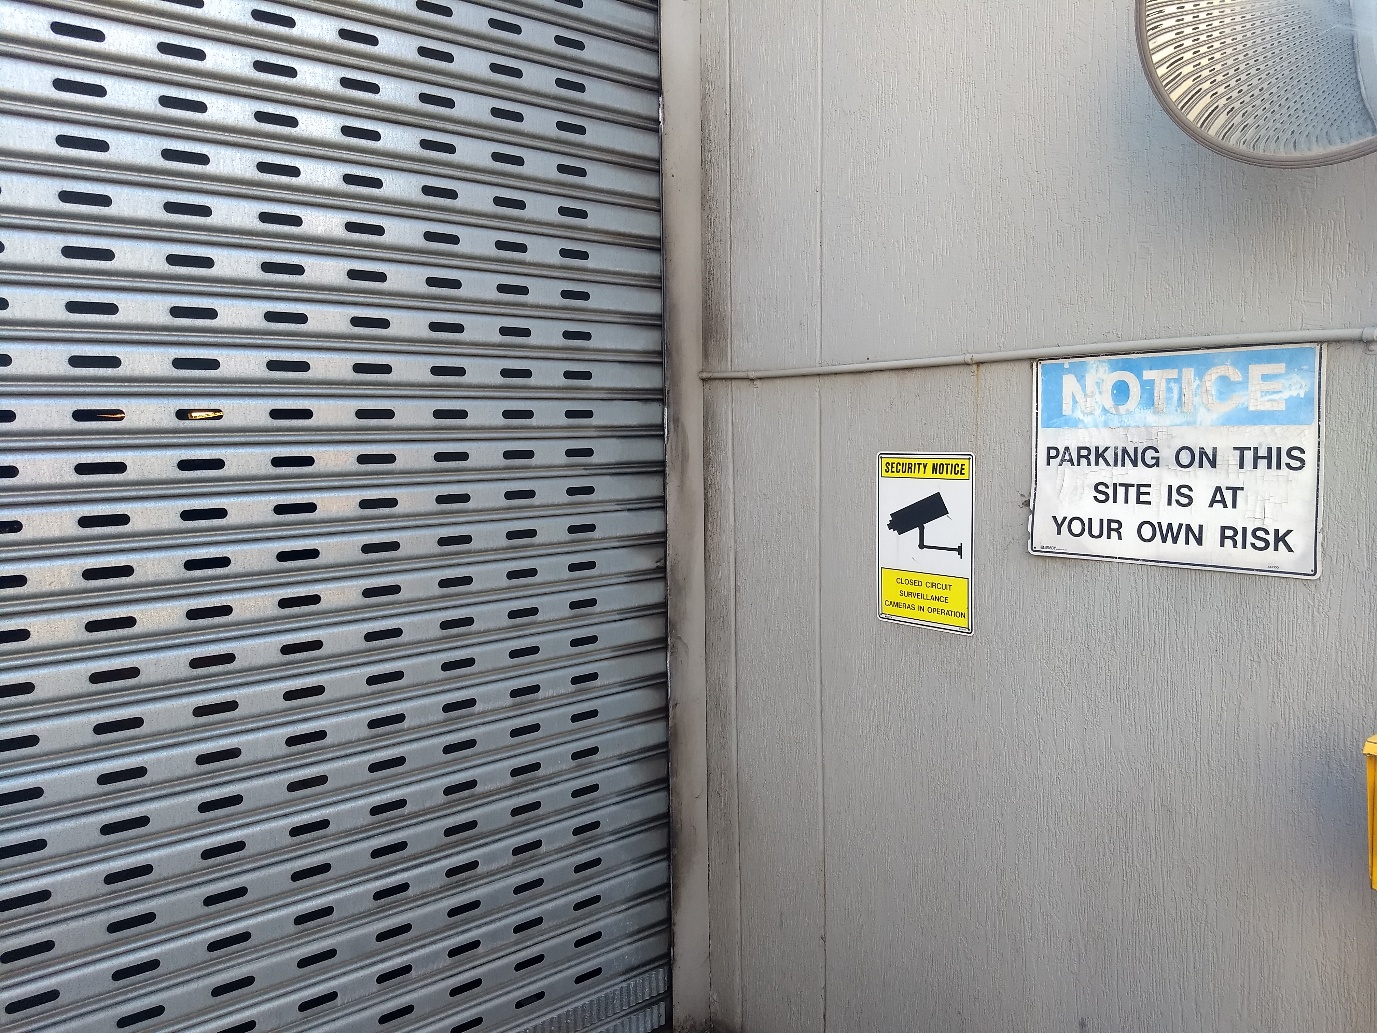
Service Areas Included

Step 10 | Whole-Building Scope

Side walls and service areas were checked because smaller spaces still influence the quality of the overall finish.

Purpose: The work extended beyond the public facade to create a complete result.

  • Service walls were inspected.
  • Marked surfaces were cleaned and prepared.
  • Detail areas remained part of the coating scope.
11

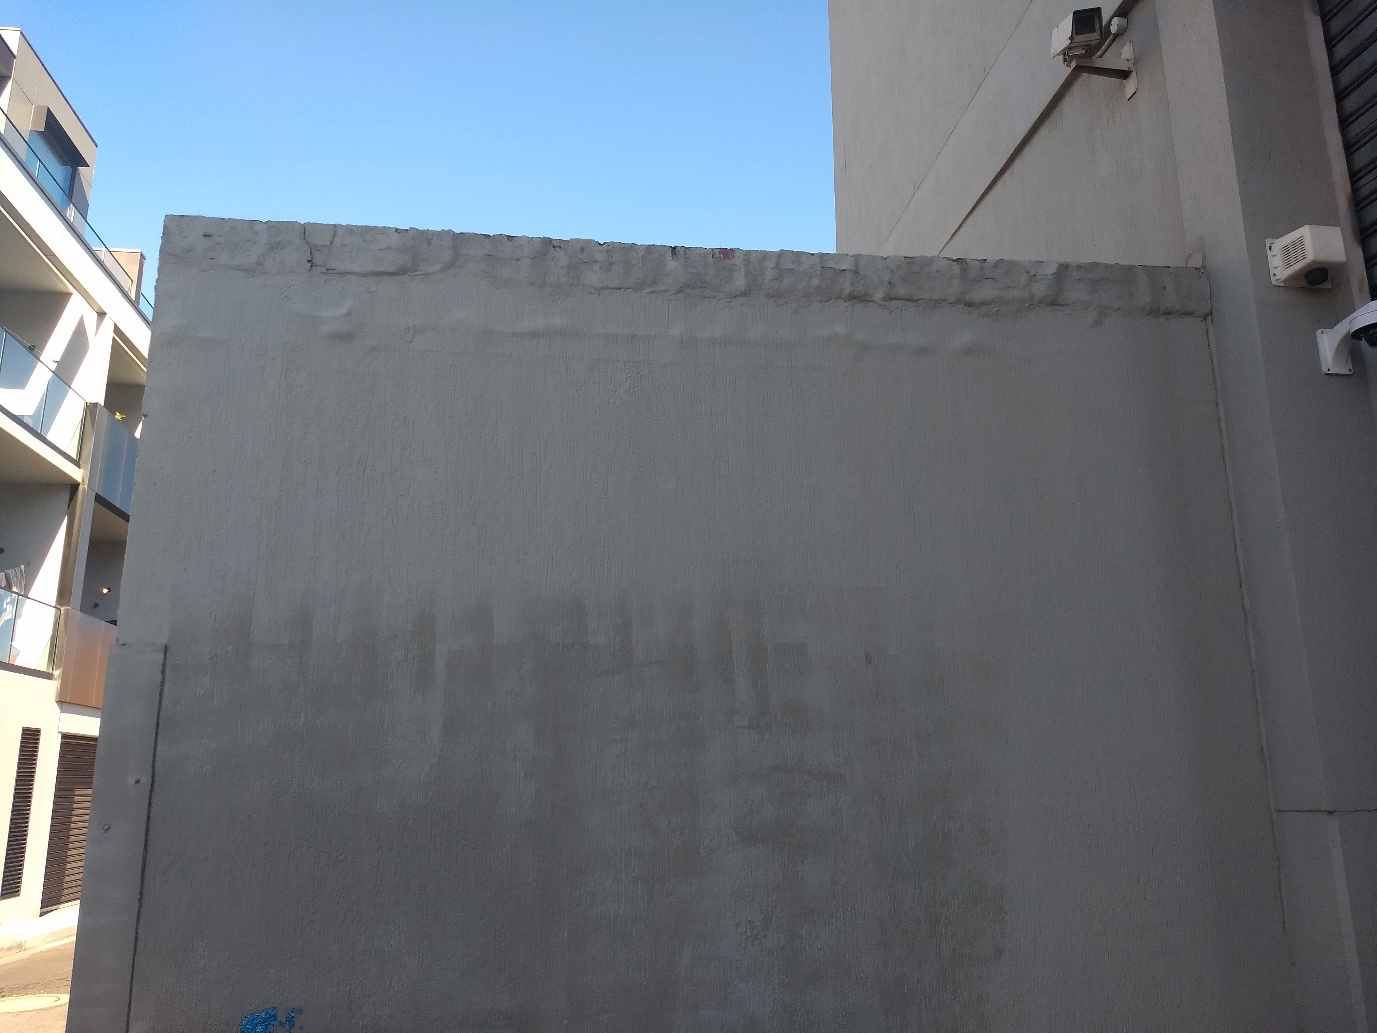
Side Walls Prepared

Step 11 | Consistent Finish

Large side-wall areas were prepared to carry the same clean finish across the complete building envelope.

Result: Secondary elevations supported the same visual standard as the main facade.

  • Broad wall planes were checked for marks.
  • Preparation remained consistent by elevation.
  • The final appearance read as one building.
12

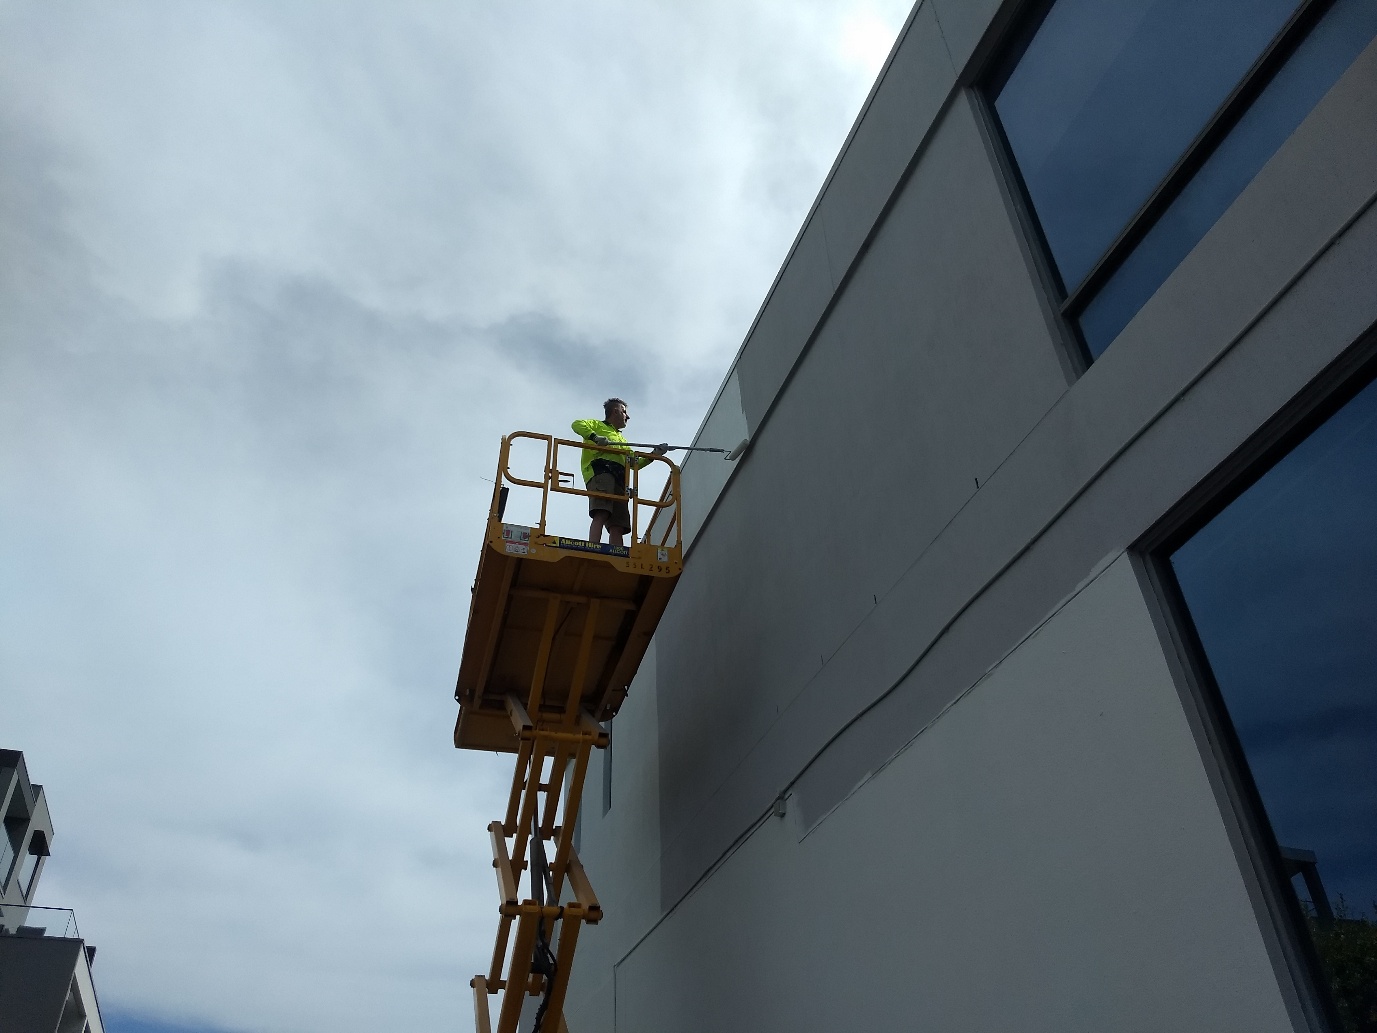
Exterior Application

Step 12 | Coating Works

OmniGuard Exterior was applied to the prepared walls using access equipment suited to the building height.

System: The wall coating added a cleaner finish and durable mineral surface protection.

  • Prepared surfaces received OmniGuard Exterior.
  • Access equipment supported controlled application.
  • The chosen grey unified the elevations.
13

Two Systems, One Result

Step 13 | Exterior And Rooflect

OmniGuard Exterior protected the walls while Rooflect coated the repaired roof and helped reduce heat absorption.

Outcome: Surface protection and thermal roof performance were addressed together.

  • Exterior was selected for the walls.
  • Rooflect was selected for the roof.
  • The building gained a cleaner, coordinated finish.
14

1 Hoddle Street Complete

Step 14 | Final Outcome

The completed 1 Hoddle Street project presents a refreshed light-grey facade and a protected roof system in Melbourne, Victoria.

Final result: A cleaner commercial exterior with added wall protection and reduced roof heat absorption.

  • Quarzit 9080 delivered the selected light grey.
  • Walls and roof received surface-specific systems.
  • The finished building reads cleanly from the street.